DSLR video has changed the video production and filmmaking landscape; it all started a few years back with the Nikon D90 and groundbreaking Canon 5D Mk II. In 2010 I rushed headlong into the field with the purchase of a Canon Rebel T2i. I shot videos on the streets of San Francisco, backstage with Cirque, and produced film festival videos for Stark Insider featuring Christopher Titus, James Franco, and Elizabeth Olsen. All, with a dinky looking little Canon camera. Gradually I improved. 1080p bit by 1080p bit, I learned the nuances of shooting video with a DSLR – and I have much learning still ahead (the chase is the thrill). I then added an EOS 60D to our rig. It’s a rock-solid workhorse.
I’m always on the lookout for tips and tricks when it comes to DSLR, and shooting better looking footage. How do I eliminate or reduce the shakes? Does sound quality really matter? And what about focus, how on earth can I deal with that tricky bugger on a DSLR?
I’ve written before about my experiences which are generally of the “run ‘n gun” variety, and you can read more here about some of my tips and failings. Meanwhile, filmmaking brothers Lan Bui and Vu Bui were on hand at SXSW and offered three simple tips for shooting better video with DSLR:
1. Buy a zoom optical viewfinder
This will help achieve two things. First it will stabilize your footage as you’ll be holding the camera against an eyepiece, thus using your body to help steady your DSLR. Also, it gives you better focus precision as you’ll be able to see images magnified.
I struck out on this one, and just added a viewfinder to my list. I typically use autofocus. I lock on the subject, record some video, then re-frame the next shot. This approached requires a lot of editing.
2. Stabilize your shot
Brothers Bui are split on this one, but both favor using something to help reduce shakey camera work. Lan prefers a simple handstrap, and Vu uses a small against-the-chest rig.
Generally I go free form, and just hold the camera as carefully as possible. I also use a tripod where possible. I like to mix the two styles together, so there is a nice mix of relaxed, stabile footage along with some exciting handcam clips that can add to the drama of an event, or color the video with some street edge.
3. Don’t skimp on audio
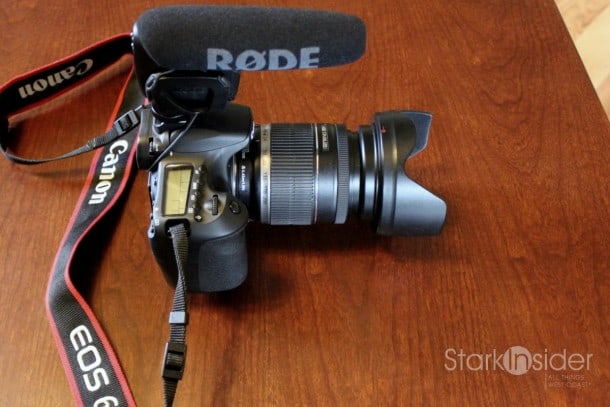
Audio is just as important as the footage say the Buis. So at minimum buy a Rode Videomic (I have one on my 60D about 95% of the time), or if your budget allows, step up to the Rode NTG-1 (on my list!).
A Bay Area filmmaker told me via a message on Vimeo a few years back, that my work was decent, improving, but that I really needed to clean up and improve audio. He was right. I bought a shotgun mic. And eventually I started recording dual system (via the awesome little Zoom H1 field recorders) for our interviews, and on location coverage of wine events, film festivals, and theater. Once I got the hang of syncing the extra tracks in Premiere Pro, things ran smoothly in post (though it still takes longer than just cutting with a shotgun audio track).
So there you have it. Three things you can do right now – without breaking the budget – to get more professional looking footage. Get a viewfinder so you can improve focus. Stabilize your shots with some sort of rig; be it a tripod, steadicam, or just a better grip. And, finally, make sure your audience can hear (and enjoy) your work – there’s nothing worse than horrible audio quality. Happy shooting… and let me know if you agree with these tips, or if there’s anything else you’d add for the burgeoning DSLR filmmaker.