Table of Contents
- Why 25 Seconds? The Science Behind Perfect Timing
- Essential Equipment: What You Actually Need
- Step-by-Step: Pulling the Perfect Shot
- Troubleshooting: When Things Go Wrong
- Understanding Brew Ratios
- Advanced Techniques: Dialing In Your Shot
- Environmental Factors
- Recognizing Quality: Visual and Taste Cues
- Common Mistakes (And How to Fix Them)
- Understanding Channeling
- Espresso Variations
- Professional Barista Habits
- Practice Without Waste
- Timing Your Espresso Shot: Tools and Techniques
- Serving and Enjoying Your Perfect Shot
- Environmental Impact and Sustainability
- Essential Resources and Further Reading
- FAQ
How to Pull a Perfect Espresso Shot at Home:
Why 25 Seconds? The Science Behind Perfect Timing
The 25-second extraction time isn’t just coffee folklore — it’s rooted in solid extraction science. During those crucial seconds, hot water dissolves specific coffee compounds in a predictable sequence: acids first (bright, sour notes), then sugars (sweetness and body), and finally bitter compounds. I find the process magical when it’s done right.
The extraction timeline:
- 0-10 seconds: Acids extract (sourness)
- 10-20 seconds: Sugars extract (sweetness, body)
- 20-30 seconds: Balance point reached
- 30+ seconds: Bitter compounds dominate
Hit the 25-second window, and you capture the best of all three phases while minimizing the harsh bitter compounds that emerge with over-extraction. Miss it, and you’re either drinking sour under-extracted coffee (too fast) or bitter over-extracted coffee (too slow).
Essential Equipment: What You Actually Need
After testing everything from entry-level Gaggias to flagship Juras, here’s what actually matters for consistent espresso:
The Non-Negotiables
1. Espresso Machine
- Entry Level: Gaggia Classic Pro ($449) – Still my top recommendation for beginners
- Mid-Range: Rancilio Silvia ($765) – Rock-solid temperature stability
- High-End: Any E61 group machine ($1,500+) – Professional-grade consistency (Rocket Appartamento is worth a look)
- Super-Automatic: Jura Z10 ($3,995) – For those who want cafe-quality with (almost) zero effort
2. Grinder (Don’t Skimp Here!)
- Budget: Baratza Encore ESP ($169) – Good enough to start
- Sweet Spot: Eureka Mignon Specialita ($419) – Quiet, consistent, perfect for home use
- Enthusiast: Niche Zero ($749) – Single-dose perfection
3. Scale
- Our Pick: Timemore Black Mirror ($89) – Fast, accurate, great value
- Pro Level: Acaia Lunar ($249) – The gold standard, but honestly overkill for most
The Game-Changers
4. Puck Screen ($15-25)
5. Dosing Funnel ($20-30)
Keeps expensive beans in your portafilter instead of scattered across your counter.
6. Distribution Tool/Tamper Combo ($40-60)
Eliminates the biggest variable in espresso: inconsistent tamping pressure.
Step-by-Step: Pulling the Perfect Shot
Here’s my daily routine, refined over thousands of shots:
Step 1: Preheat Everything (2 minutes)
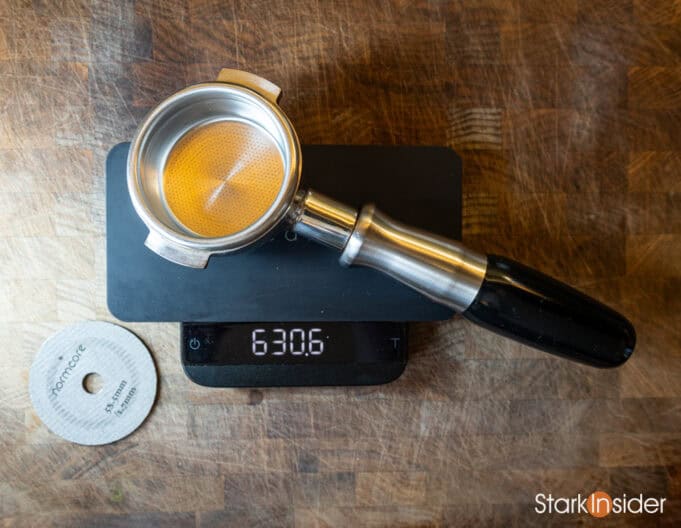
Turn on your machine and let it fully heat up. Run a blank shot through the group head to ensure optimal temperature. This isn’t optional—cold portafilters kill extraction.
Step 2: Weigh and Grind (18-20g)
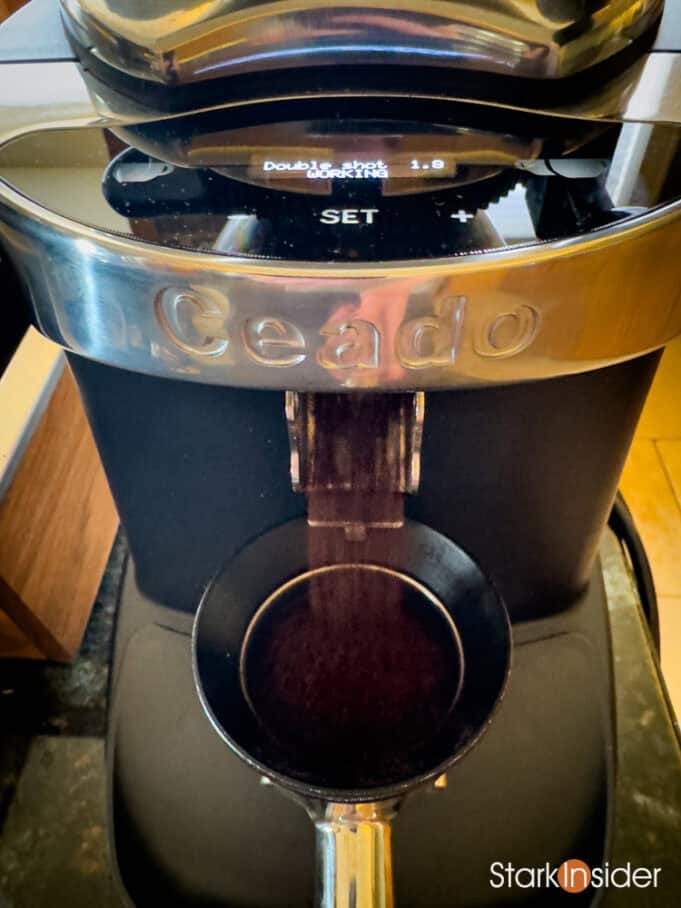
Use a scale. Always. I typically dose 19g for my 58mm basket, but your machine might prefer 18g or 20g. Grind immediately before brewing—pre-ground coffee is the enemy of great espresso.
Step 3: Distribute and Level
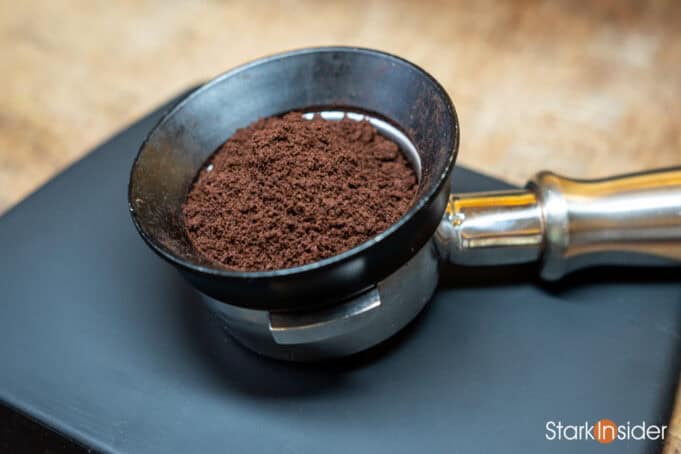
Pour grounds into your portafilter (using a dosing funnel if you’re smart). Give it a few gentle taps to settle, then use a distribution tool or your finger to level the surface. No mountains, no valleys.
Step 4: Tamp with Purpose
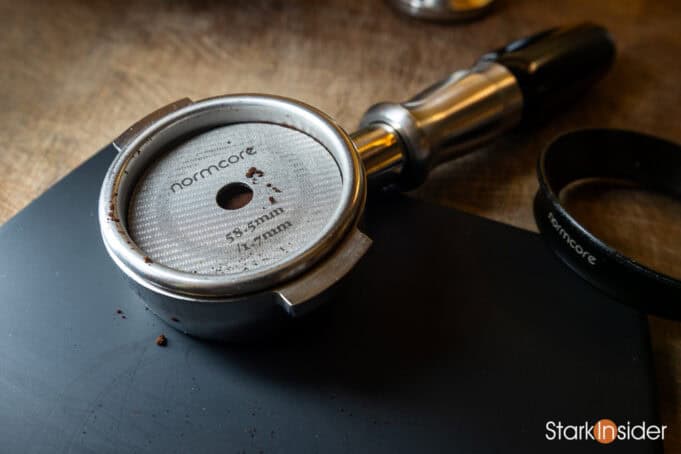
Apply 30 pounds of pressure—roughly the weight you’d use to press down on a bathroom scale. Keep it level. The goal isn’t to compact as hard as possible; it’s to create an even, consistent surface.
Step 5: Insert and Start Timer
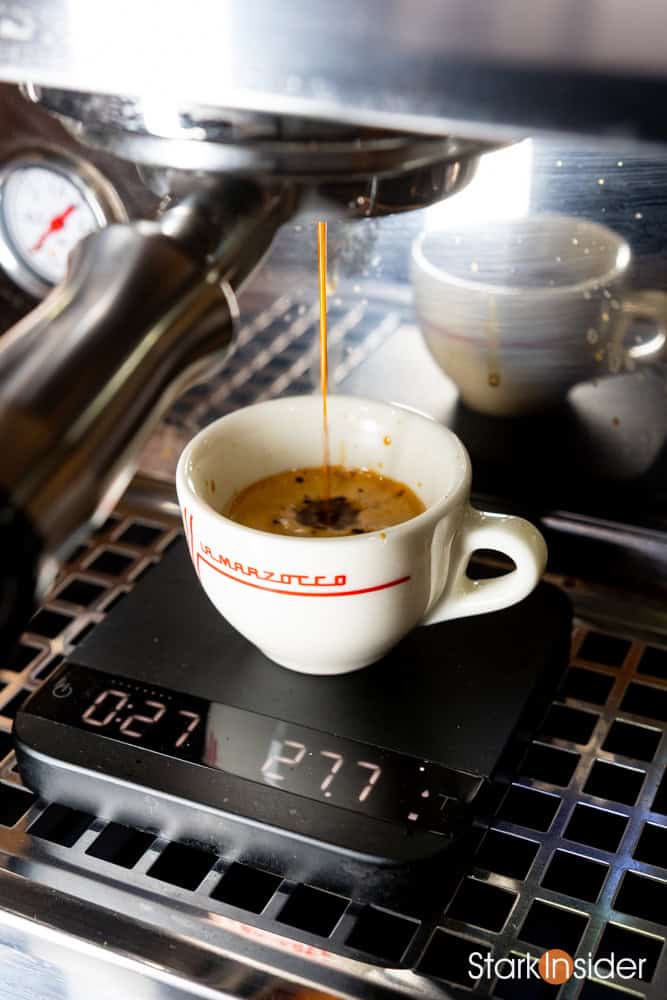
Lock the portafilter into the group head. Place your cup (on a scale, ideally) and start your timer the moment you engage the pump.
Step 6: Watch the Flow
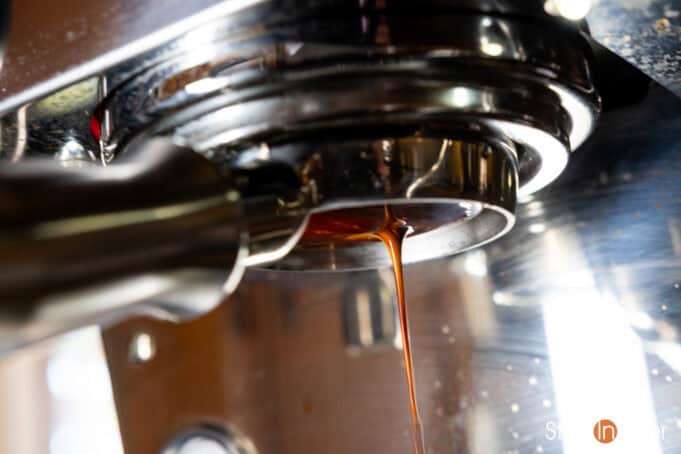
Espresso should start as a slow drip, then flow like warm honey. If it gushes out, your grind is too coarse. If it barely drips, it’s too fine.
Step 7: Stop at Target Weight
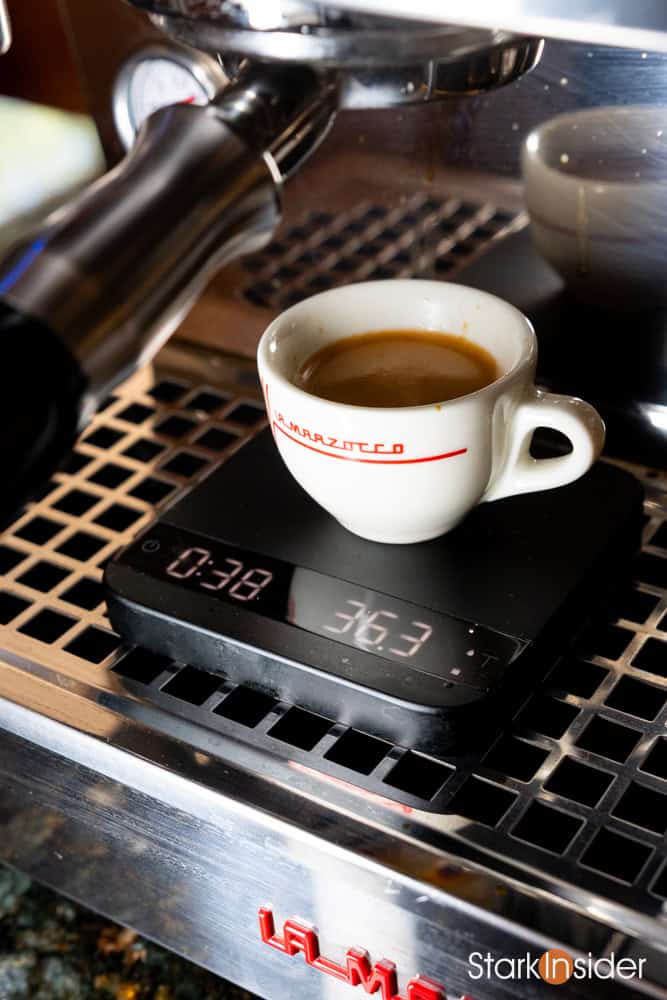
For a 19g dose, stop around 38g output (1:2 ratio). This should take approximately 25 seconds. If it doesn’t, adjust your grind and try again.
Note:
Don’t expect instant perfection. There’s a lot of trial and error when it comes to pulling consistent, high quality espresso shots. Be ready for lots of practice, and maybe even occasional frustration. Also: expect lots of splatter. Espresso splatter. Water splatter. Bean splatter. Please don’t give up. You will get better over time! Which leads me to…
Troubleshooting: How to Fix Fast and Slow Espresso Shots
Shot Too Fast (Under 20 seconds)
Symptoms: Thin, sour espresso with blonde crema Causes: Grind too coarse, dose too low, uneven tamp Solutions:
- Grind finer (start with 2-3 clicks on your grinder)
- Increase dose by 1-2 grams
- Check your tamp technique—ensure it’s level and firm
- Verify your basket isn’t damaged or clogged
Shot Too Slow (Over 30 seconds)
Symptoms: Bitter, over-extracted espresso with dark, thin crema Causes: Grind too fine, dose too high, channeling Solutions:
- Grind coarser (2-3 clicks)
- Reduce dose by 1 gram
- Check for uneven distribution or channeling
- Ensure your portafilter basket is clean
Inconsistent Shots
Symptoms: Great shot followed by terrible shot with same settings Likely Culprits:
- Channeling: Water finding easy paths through the puck
- Temperature fluctuation: Machine not fully heated or cooling between shots
- Grinder retention: Old grounds mixing with fresh ones
- Bean freshness: Beans more than 3 weeks old lose consistency
Understanding Brew Ratios: The Math That Matters
Brew ratio is simply the relationship between coffee in and espresso out, expressed as a ratio like 1:2 or 1:2.5. Master this concept, and you’ll never pull a bad shot again.
| Ratio | Style | Characteristics | When to Use |
|---|---|---|---|
| 1:1.5 | Ristretto | Intense, syrupy, concentrated | Dark roasts, milk drinks, when you want maximum impact |
| 1:2 | Traditional | Balanced, full-bodied, versatile | Most beans, daily drinking, classic espresso experience |
| 1:2.5 | Lungo | Lighter, more volume, higher extraction | Light roasts, pour-over drinkers transitioning to espresso |
How to Apply Brew Ratios
- Start with 1:2 – 18g in, 36g out
- Taste and adjust – Too intense? Try 1:2.5. Too weak? Try 1:1.8
- Consider your beans – Light roasts often prefer higher ratios, dark roasts lower
- Factor in your drinks – Making milk drinks? Lower ratios punch through better
Advanced Techniques: Dialing In Your Shot
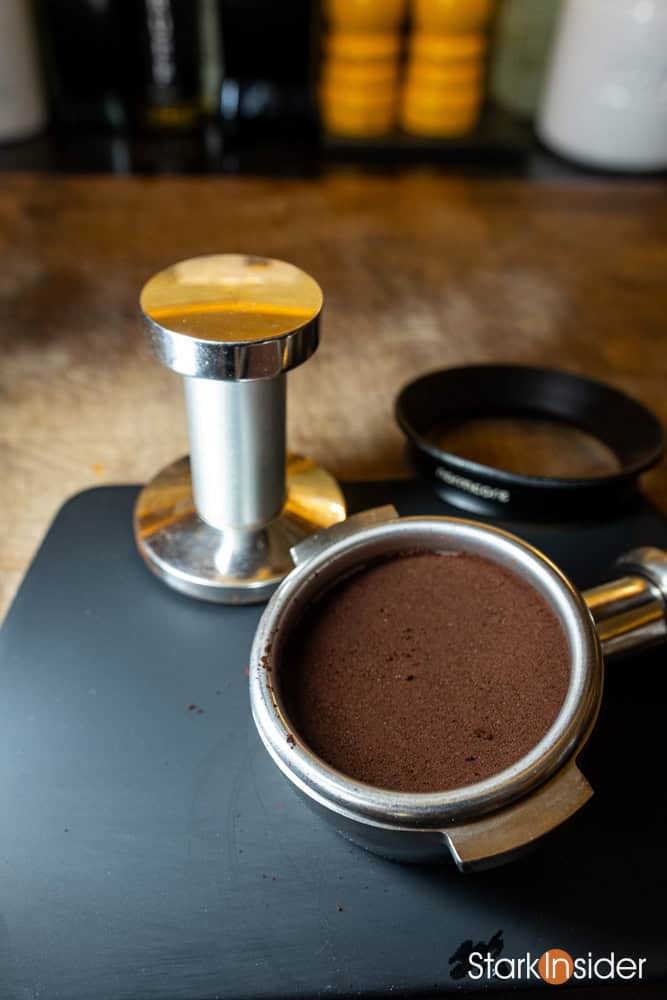
Once you’ve mastered the basics, these advanced techniques will take your espresso to the next level. These are optional, but worth exploring. Some I live by, others I find don’t improve my workflow. So, as they say, season to taste. Here are some techniques worth considering:
The WDT (Weiss Distribution Technique)
Use a thin needle or specialized tool to stir your grounds before tamping. This breaks up clumps and promotes even extraction. Sounds fiddly, but it can work. I’m not a big fan of this, as I believe a good grinder and tamping can do the job just fine. However, there’s a sizeable and passionate online community who swear by WDT.
Temperature Surfing
If your machine doesn’t have PID temperature control, you can still achieve consistency by timing your shots with the heating cycle. Pull shots just as the heating element turns off for optimal temperature. Note: this technique is particularly popular with machines like the Gaggia Classic and Rancilio Silvia.
Pre-Infusion Timing
Many modern machines offer programmable pre-infusion. Start with 3-5 seconds of low-pressure water contact before full extraction begins. This allows the puck to bloom and promotes even saturation. Even if your espresso machine doesn’t have this feature you can simulate the effect by turning the brew switch on/off manually.
Pressure Profiling
Advanced baristas adjust extraction pressure throughout the shot. Start high (9 bars), drop to medium (6-7 bars) mid-extraction, then finish high. Requires a machine with pressure profiling capability.
Environmental Factors: Why Your Perfect Shot Changes
Here’s something they don’t teach you in barista school: your perfect shot will change with the weather. You may be surprised to learn that the environment can impact your espresso shots in several ways. If you find your once perfect shot becoming less so, there could be other factors at play. For instance:
Humidity Effects
- High humidity: Beans absorb moisture, requiring coarser grind
- Low humidity: Beans become drier, need finer grind
- Solution: Adjust grind seasonally, not just daily
Temperature Variations
- Cold mornings: Machine takes longer to stabilize
- Hot kitchens: Beans may extract faster
- Air conditioning: Can create humidity fluctuations
Bean Aging
- Days 3-7: Peak flavor development
- Week 2-3: Stable, predictable extraction
- Week 4+: Becoming stale, extraction becomes erratic
- Solution: Buy smaller quantities more frequently
Recognizing Quality: Visual and Taste Cues
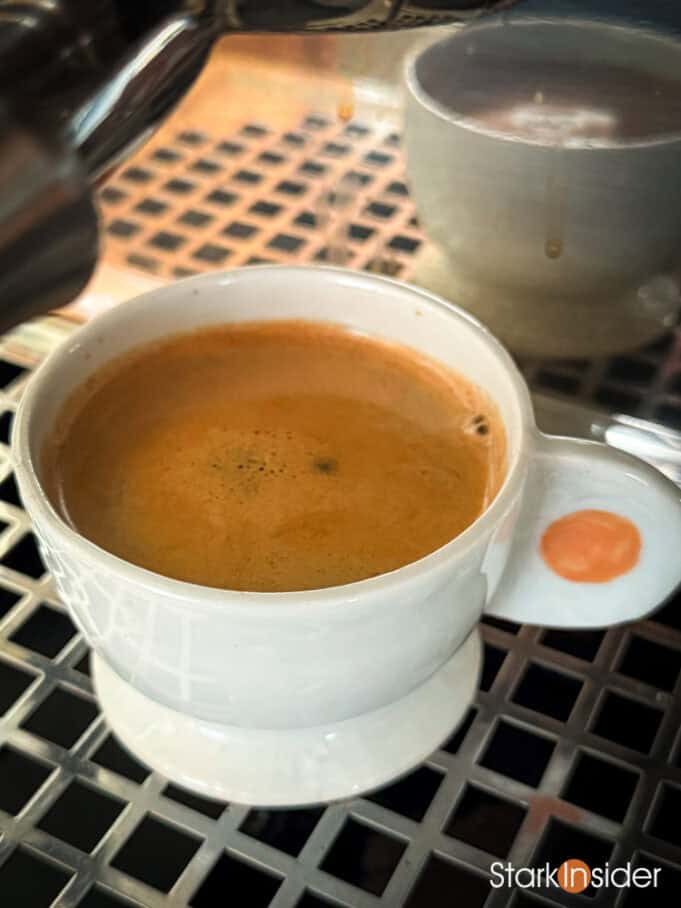
What Great Espresso Looks Like
The Flow: Should resemble warm honey—not too fast, not too slow. I look for a steady, consistent stream that starts thin and gradually thickens.
The Crema:
- Color: Golden-brown with reddish highlights (not blonde, not black)
- Thickness: About 1/8 inch thick
- Texture: Fine, velvety bubbles that persist for several minutes
- Coverage: Should cover the entire surface evenly
The Finished Shot:
- Volume: 1-1.5 oz for a single, 2-2.5 oz for a double
- Color: Rich brown with slight transparency when held to light
- Aroma: Intense coffee fragrance, no burnt or sour notes
Taste Profile of Perfect Espresso
A well-extracted shot should have:
- Balance: No single flavor dominates
- Sweetness: Natural coffee sugars should be apparent
- Body: Should feel substantial, not thin or watery
- Finish: Clean aftertaste that makes you want another sip
- Temperature: Hot but not scalding (around 160°F)
Common Mistakes (And How to Fix Them)
Based slightly on my own personal experience here are mistakes (I make consistently) and what I’ve learned over the years (keep it simple!):
Mistake #1: Ignoring Your Scale
The Problem: Dosing by volume instead of weight The Fix: Every shot gets weighed. Period. Volumetric dosing leads to inconsistent extractions because coffee density varies. Over time, you may get the feel for this, and rely on intuition. That’s fine. In Europe cafes scales are less common.
Mistake #2: Grinding Too Early
The Problem: Pre-grinding coffee for the week The Fix: Grind immediately before brewing. Coffee loses flavor compounds rapidly after grinding—within 30 minutes, you’ve lost significant quality.
Mistake #3: Inconsistent Tamping
The Problem: Applying different pressure each time The Fix: Practice tamping on a bathroom scale until 30 pounds feels natural. Consider a calibrated tamper for ultimate consistency.
Mistake #4: Dirty Equipment
The Problem: Not cleaning regularly The Fix: Daily rinses, weekly deep cleans. Coffee oils go rancid quickly and will ruin even the best beans. Hint: Cafiza is a wonder of a cleaning solution.
Mistake #5: Wrong Water Temperature
The Problem: Machine not fully heated or overheated The Fix: Wait for full warm-up (usually 15-20 minutes). Ideal brewing temperature is 200-204°F.
Understanding Channeling: The Silent Shot Killer
Channeling is when water finds paths of least resistance through your coffee puck, creating uneven extraction. Some grounds get over-extracted (bitter) while others remain under-extracted (sour). It’s ugly and frustrating, but there are ways to solve the problem. First, you need to recognize when it happens, and then tune your workflow with some prevention tips.
How to Spot Channeling
Visual Cues:
- Spurting or uneven flow from portafilter
- Light and dark areas in the crema
- Holes or tunnels in the spent puck
Taste Cues:
- Simultaneously bitter and sour
- Thin body despite proper timing
- Harsh, unbalanced flavor
Preventing Channeling
- Even Distribution: Use WDT or distribution tool
- Consistent Tamping: Level, firm pressure
- Quality Grinder: Uniform particle size is crucial
- Puck Screen: Creates additional flow resistance
- Proper Dose: Don’t overfill or underfill baskets
Espresso Variations: Beyond the Basic Shot
Ristretto (1:1.5 ratio, 20-22 seconds)
The concentrated cousin of espresso. More intense, syrupy texture, perfect for milk drinks where you want the coffee to punch through.
Lungo (1:2.5+ ratio, 30-40 seconds)
Extended extraction for more volume. Popular with lighter roasts where you want to extract more of the delicate flavor compounds.
Doppio (Double Shot)
Simply two shots pulled simultaneously. Most home setups are actually pulling doubles by default—check your basket size.
Romano
Espresso served with a lemon twist. Sounds weird, works brilliantly with certain beans. The citrus oils complement coffee’s natural acidity.
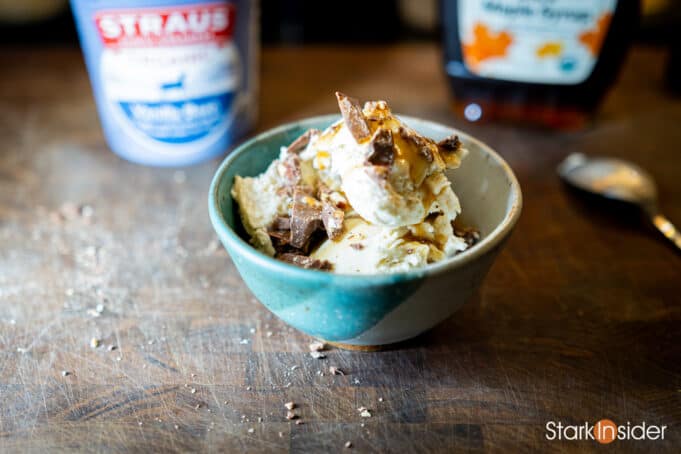
Affogato (For a Treat)
In the mood for a celebration? Try an Affogato. Pouring an espresso shot over ice cream is an experience you won’t soon forget.
Professional Barista Habits: 10 Habits That Ensure Consistency
After observing dozens of professional baristas and thousands of hours at my home setup (where I’m reminded to keep my station absolutely clean), these habits separate good espresso from great espresso:
1. Weigh Everything (especially while learning the ropes)
Dose in, yield out, even water temperature if possible. Consistency comes from removing variables, and weight is the most reliable measurement.
2. Time Every Shot
Use a timer or built-in machine timer. Even after years of experience, I still time every shot. Muscle memory fails; clocks don’t.
3. Purge Before Every Shot
Run a small amount of water through the group head before each extraction. This clears old grounds and ensures optimal temperature. Tip: don’t forget to also purge your steam wand.
4. Taste Constantly
Professional baristas taste throughout the day to catch drift in extraction. I taste my first shot of every session, even if I’m making the same coffee as yesterday.
5. Keep Detailed Notes
Track what works: bean type, grind setting, dose, yield, time, temperature. I use a simple notebook, but apps work too.
6. Clean Obsessively
Rinse portafilters between shots, wipe down surfaces constantly, backflush weekly. Coffee oils turn rancid fast and will sabotage even perfect technique.
7. Monitor Bean Freshness
Use beans within 2-4 weeks of roast date. Mark bags with opening dates. Stale beans make consistent extraction nearly impossible.
8. Dial In Daily
First shot of the day is always a test shot. Beans, humidity, and machine temperature all drift overnight.
9. Pre-heat Everything
Cups, portafilters, group heads—thermal shock kills extraction. Professional cafes pre-heat everything; you should too.
10. Stay Humble
Even world champion baristas pull bad shots sometimes. When things go wrong, adjust methodically. Don’t change five variables at once.
Practicing Without Wasting Premium Beans
Learning proper espresso technique shouldn’t bankrupt your coffee budget. And it can while you are dumping failed shot after failed shot while getting up to speed. Here’s how to practice smart:
Use Training Beans
- Older beans (3-4 weeks past roast)
- Less expensive single-origins
- Supermarket espresso blends
- Decaf (same technique, lower stakes)
Practice Mechanical Skills
- Distribution without grinding
- Tamping technique on spent pucks
- Timing with empty portafilters
- Machine operation without coffee
Start Small
- Half-doses for technique practice
- Single basket instead of double
- Focus on one variable at a time
Smart Testing Strategy
- Morning: Test shot with regular beans
- Afternoon: Practice technique with cheaper beans
- Evening: Perfect shots with premium beans
Timing Your Espresso Shot: Tools and Techniques
Accurate timing is crucial for consistent espresso. Here are the best methods I’ve found:
Digital Timers
- Kitchen Timer: Basic but effective
- Phone Stopwatch: Always available
- Dedicated Espresso Timer: TimeMore Black Mirror includes timer and scale
Machine-Integrated Timers
Modern espresso machines often include shot timers. These are convenient but verify accuracy—some drift over time.
Smart Scale Timers
Scales like the Acaia Lunar automatically start timing when they detect flow. Convenient but expensive.
Visual Timing Cues
With experience, you can estimate timing by watching flow patterns:
- 0-5 seconds: Slow drips
- 5-15 seconds: Steady thin stream
- 15-25 seconds: Thickening flow
- 25+ seconds: Rich, honey-like consistency
Serving and Enjoying Your Perfect Shot
Proper Serving Temperature
Espresso should be served at 160-165°F. Too hot and you’ll burn your tongue before tasting nuance; too cool and flavors become muted.
Cup Selection
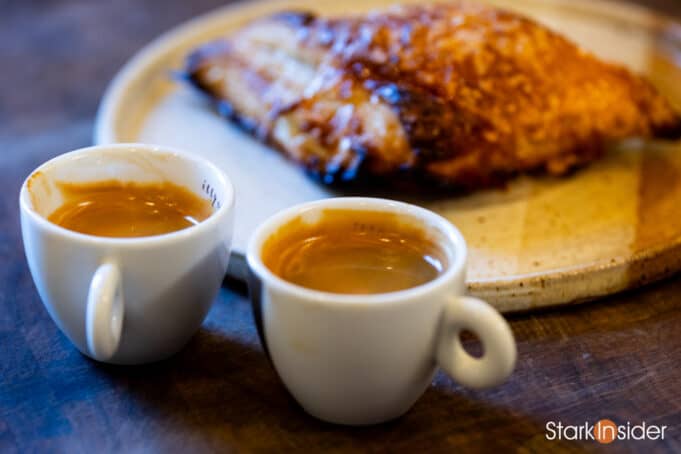
- Demitasse (2-3 oz): Traditional for straight espresso
- Gibraltar glass (4.5 oz): Perfect for cortados
- Ceramic: Retains heat well
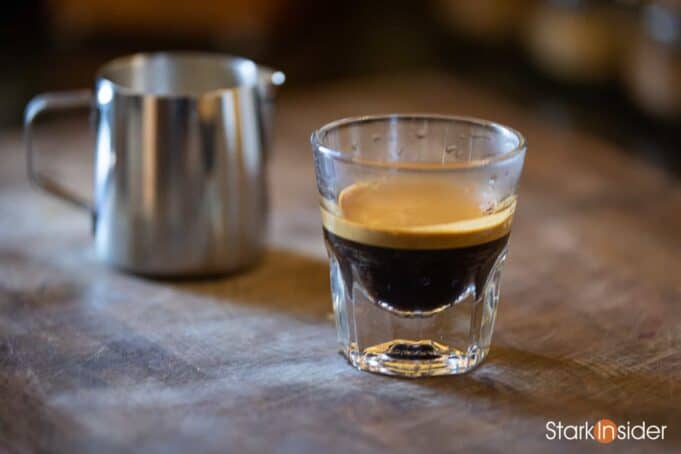
- Glass: Shows off crema layers beautifully
Timing Matters
Drink espresso within 2-3 minutes of extraction. The crema acts as a protective layer, but flavors change rapidly as the shot cools.
Food Pairings
- Dark chocolate: Complements bitter notes
- Biscotti: Classic for good reason
- Sparkling water: Cleanses palate between sips
- Fresh pastries: Sunday morning perfection
Environmental Impact and Sustainability
Choosing Sustainable Beans
- Look for Fair Trade or Direct Trade certifications
- Support local roasters when possible
- Consider organic options to reduce pesticide use
Minimizing Waste
- Compost used coffee grounds (great for gardens)
- Use reusable cups and avoid disposables
- Buy beans in amounts you’ll use within 3-4 weeks
Equipment Longevity
- Regular maintenance extends machine life
- Quality grinders last decades with proper care
- Buy once, buy well philosophy saves money and resources
Frequently Asked Questions
Why do my shots taste different every day even with the same settings?
Coffee is agricultural—beans change with humidity, age, and storage conditions. Small daily adjustments are normal and necessary.
Should I use filtered water?
Absolutely. Water quality dramatically affects espresso taste. Use filtered water with moderate mineral content (150-300 ppm TDS).
How fine should I grind for espresso?
Finer than table salt, coarser than powder. Start there and adjust based on extraction time. Every grinder is different.
Can I use a regular coffee grinder for espresso?
Blade grinders won't work—they create uneven particles. You need a burr grinder capable of fine, consistent grinds.
How often should I clean my machine?
Daily rinsing, weekly backflushing with cleaner, monthly descaling (if not using filtered water). Clean equipment = better espresso.
My crema disappears quickly. What's wrong?
Usually indicates stale beans or under-extraction. Use beans within 2-4 weeks of roast date and ensure proper extraction timing.
Can I make espresso without a machine?
Not true espresso, which requires 9 bars of pressure. Moka pots and AeroPress make concentrated coffee but not espresso.
How much should I spend on my first setup?
Minimum $600-800 for machine and grinder combined. Don't skimp on the grinder—it's more important than the machine.
Essential Resources and Further Reading
Books
- Coffee: A Comprehensive Guide to the Bean, the Beverage, and the Industry by Robert Thurston
- Craft Coffee: A Manual by Jessica Easto
- The World Atlas of Coffee by James Hoffmann
Online Communities
- r/espresso – Reddit’s espresso community
- Home-Barista.com – Technical discussions and equipment reviews
- CoffeeGeek – Community-driven coffee insights and espresso techniques
YouTube Channels
- James Hoffmann – Scientific approach to coffee
- Lance Hedrick – Advanced techniques and equipment reviews
- Seattle Coffee Gear – Equipment demos and comparisons
Recommended Gear Retailers
- Seattle Coffee Gear – Excellent customer service and expertise
- Whole Latte Love – Comprehensive selection and support
- Sweet Maria’s – Coffee education and green beans
Final Thoughts: Embrace the Journey
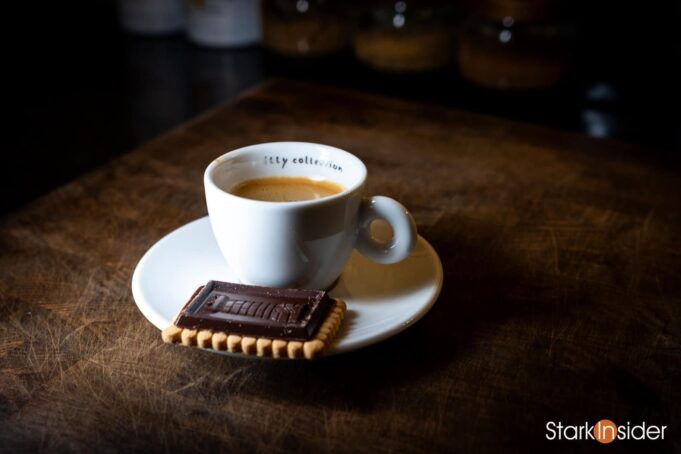
After two decades of espresso obsession, I’ve learned that perfection isn’t a destination — it’s a daily practice. Some mornings, everything clicks and you pull a shot that makes you question why anyone drinks anything else. Other days, even with identical settings, nothing works right.
That’s not a bug; it’s a feature!
The slight unpredictability keeps espresso interesting… for the most part. The constant tweaking and adjustment isn’t tedious busywork and it’s engagement with a craft that rewards attention to detail.
Start with the fundamentals in this guide, but don’t stop experimenting. Try different beans, adjust your ratios, play with water temperature. Share and enjoy the experience with your significant other (Loni and I do mid-morning Flat White and Apple Turnover breaks) .
Just remember: even world-class baristas started by pulling terrible shots. The difference between them and casual coffee drinkers isn’t natural talent, no, like a lot of skilled vocations it’s persistence, curiosity, and the willingness to taste their mistakes.
Your journey to espresso mastery starts with your next shot. Make it count.

