Here’s an incredibly high performance, low cost lighting solution for DSLR shooters and videographers.
Call me old school, or maybe call me slightly naive, but I’ve never been one for flashes or lighting when it comes to shooting photos or videos with my DSLRs. Unless done right, adding artificial lighting can add, well, an artificial look to the result that I never favored. If that meant grain in some of our Stark Insider videos because we were filming in a dark theater, or at a dimly lit wine event it really didn’t bother me. It’s my style, man, I’d say. Hey, Neil Young gets away with saying that when asked about his ah, shall we say unique, singing voice. So why can’t we?
Here’s the problem:
You’ve just got a new DSLR. You shoot some footage, download it to your computer and realize it’s grainy and not sharp at all. Subjects are dark. There’s a lot of artifacts and imperfections. Basically the result looks nothing like what your eye saw when you shot it. Chances are you need better lighting. When you add light, your DSLR can shoot at a lower ISO rating, which results in higher quality recording.
Turns out there’s a reason why lighting is so important and why in lieu of unearthly talent or miracles, I had to succumb to the notion that lighting does really, really matter – maybe not quite as much as audio quality which I’d rank as the most important factor in producing quality video, but very close. After all if you can’t see what you’re watching then why bother?
So after spending years focusing on sound quality and buying and learning things like dual system audio, lavalier mics, Zoom field recorders and the like, I turned my attention in the last few months to lighting. Specifically, I wanted a simple solution that I could use for video primarily, and occasionally photos if possible. I did not want a synchronized flash solution. Again, lighting video was my primary concern.
Thankfully there is a great solution. LED technology has made it possible — like it has in so many applications — to add a low-cost lighting panel to a DSLR without adding much weight, inconvenience. The results as I’ve discovered over the past few months have tickled me pink.
There’s many panels available today, with prices all over the map. I was just dabbling for starters so I ordered this Neewer LED Panel. At that price I didn’t expect much performance. Why not give it a shot, what was there to lose? At the worst I could learn from my experience and make a better informed decision in the near future.
Was I surprised or what.
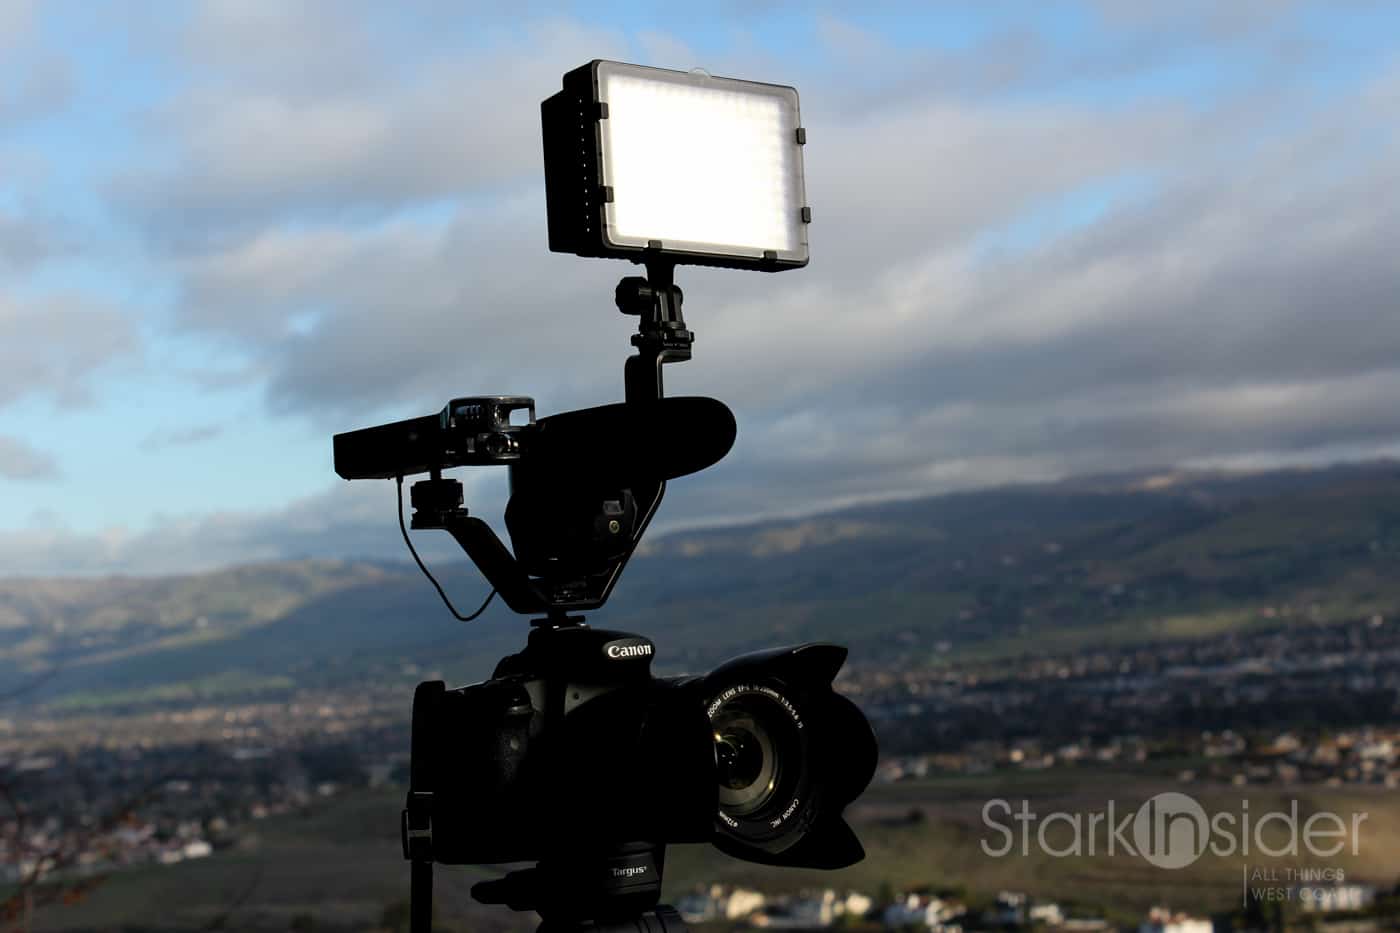
When I got the Neewer I mounted it on a bracket which has three hotshoes. That way I could still run a Rode Videomic Pro shotgun mic (a must have) and have an extra slot for something like a Zoom H1 field recorder (also indispensable).
The light panel runs on batteries. One really nice feature, though, is its ability to accept rechargeable camera batteries. These things are dirt cheap – I mean really cheap, as in just over a dollar a piece cheap. And they work great. I bought a few of these Sony NP-F550s batteries (how on earth they can make them, and ship them across the world at that price I may never understand). One of the first things I did was perform a battery run down test. I was hoping for 20, maybe 30 minutes tops. The Neewer ran for about 90 minutes a full brightness. 90 minutes! It ran longer, but at reduced effectiveness. Though you could still use it for up to two hours if you didn’t need 100% brightness. This would be perfect for me (and I suspect a lot of you) – my shoots are often interviews which last about 20-30 minutes, with some B-roll added on which takes another 30 minutes or so to shoot. All told, in one charge I could get a Stark Insider segment done in one charge.
Yes, the Neewer is plasticky. But I have not encountered any issues with build quality. And because it doesn’t use any metals, it’s light, and fits surprisingly well into my sling.
A dial on the side allows you to variably adjust the light output:

Managing the level of light output is taking some practice. Most of the time I go at 100%. But there are times — notably when I’m close to the subject — when using full power will wash out the shot. I’ve been practicing getting just the right amount of fill light, such that I can bring the ISO down on any give shot while keeping a crisp delineation between the subject and background (thanks to the added lighting).
Okay, then, onto the results.
Neewer LED Panel Test Results
Video Test
For video, here’s the first segment I used with the Neewer LED panel. It’s a theater piece I shot with Disney for The Lion King. You can watch that here:
You’ll not some variance in exposure. When I get close to Loni (i.e. Rafiki!) sometimes there’s a little too much light. That’s a matter of practice, and in some of the shots I should have the panel dialed down. If life were perfect, I’d stop time, take out a light meter, and manually set-up each shot. Such luxuries are impossibilities when we have only 20-30 minutes available with the cast and crew. So run ‘n gun it is. In past years this type of video would have a lot of noise. Now, I can bring the ISO down to about 400 which results in a crisper shot.
Photo Test
Caveat: this Neewer light panel is not designed for photos. As I previously mentioned, for serious flash photography you’ll want to invest in a sync flash of some kind. My goal, however, was video first. If the lighting solution could be used for photos, then all the better. And as I’ve discovered there are many cases where it can. Because I like to travel light, and time is almost always of the essence being able to use the existing light panel on my EOS 60D for both video and photo is a huge bonus.
For photos, we recently filmed a travel segment at Nick’s Cove, a small, rustic resort just north of San Francisco. I used the Neewer for video, and then used it again later in the evening to light some of Loni’s foodie shots which you can see here:


BTW – speaking of lighting, I think Nick’s Cove is haunted. Check it out (and no, there wasn’t somebody flipping the light switch):
Stark Insider Video: Touring Nick’s Cover
It’s a Wrap

So there you have it. One guy’s experience using a light panel for DSLR videography (and some photography). I was reluctant at first to add artificial lighting. That, of course, is a ridiculous notion – every single Hollywood film uses lighting. As does almost every single newscast, and on location segment. Did I really think I was Neil Young or something?!
All told I spent about $60 give or take. That included the Neewer light panel, the triple mount hot shoe bracket you see in the shots above, and two rechargeable batteries. Obviously there are far more expensive solutions out there. And if you have the luxury of doing set pieces, then you’ll want to consider light stands, grips, etc. For me, an LED panel was a perfect, lightweight way to give my videos a more polished look without breaking the bank, or my back.
LED Panel Equipment Check List for Canon and Nikon DSLR cameras
- Neewer 160 LED CN-160 Dimmable Ultra High Power Panel
- Triple Mount Hot Shoe V Mount Bracket for Video Lights
- Sony Replacement NP-F550 Digital Camera Battery
- NP-F550 Battery Charger
Also recommended, as seen in this article: