Chances are if you work from home you’re going to need to learn about how to shoot video.
Zoom calls are relatively easy. Login, turn on your web cam if necessary and join a meeting. Maybe place a plant here or there, and off you go.
But what if you need to record something with higher quality?
Maybe it’s for a presentation. A speech. Or company update — one where you’ll actually be during pants while speaking.
In this case you might want to Google and research a bit on how best to shoot the video. If you’ve never dabbled in corporate video or videography before there’s some simple concepts to know before you start to record.
Here are some quick tips.
Best Videography: 5 tips for shooting corporate video at home
Location Matters
Try to avoid shooting your subject matter or yourself in front of a flat wall. Typically the result doesn’t look aesthetically pleasing and you’re likely to get unwanted shadows across the frame.
Instead look for places around the home with lots of natural light. Near windows — but not in front of them.
Also, consider depth of field. That is, you preferably want some depth behind the on-camera speaker. When you have depth in a shot it can look more interesting, more pleasing to the eye. This, of course, is not a hard and fast rule. Just a guideline and something to think about when scouting your home for good locations.
And, finally, watch out for distracting noise. If loud city streets are an issue, you’ll need a good microphone (see below) to isolate it as much as possible. You may also need to choose a room that is furthest away from other ambient noise that might disrupt your presentation.
Lighting is Essential
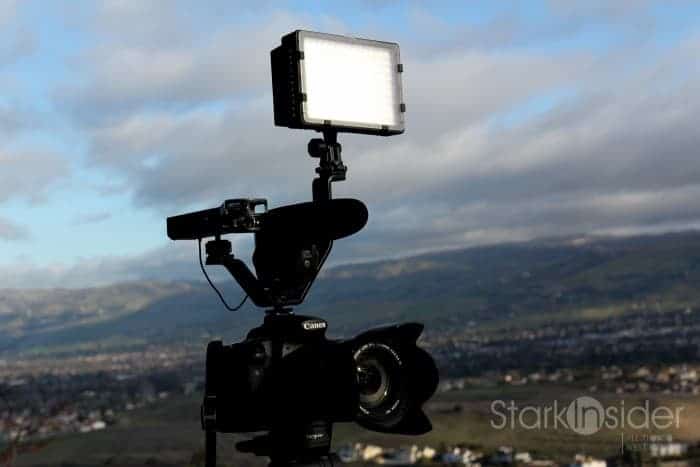
Natural light from windows will help. Ideally you’ll need to supplement that with your own lights.
There’s many ways to light a scene.
For interviews and presentations, thinking in threes is a common approach. In other words, three-point lighting: one from the center, one from the left and one from the right. This setup helps eliminate unwanted shadows on faces and makes on-camera talent bright and easy to see.
As for the lights themselves try Amazon for low cost LED panels. If you’re shooting during the day you’ll typically want the white balance on the light set to about 5500 (cooler). During the evening try going down to 3200 (warmer).
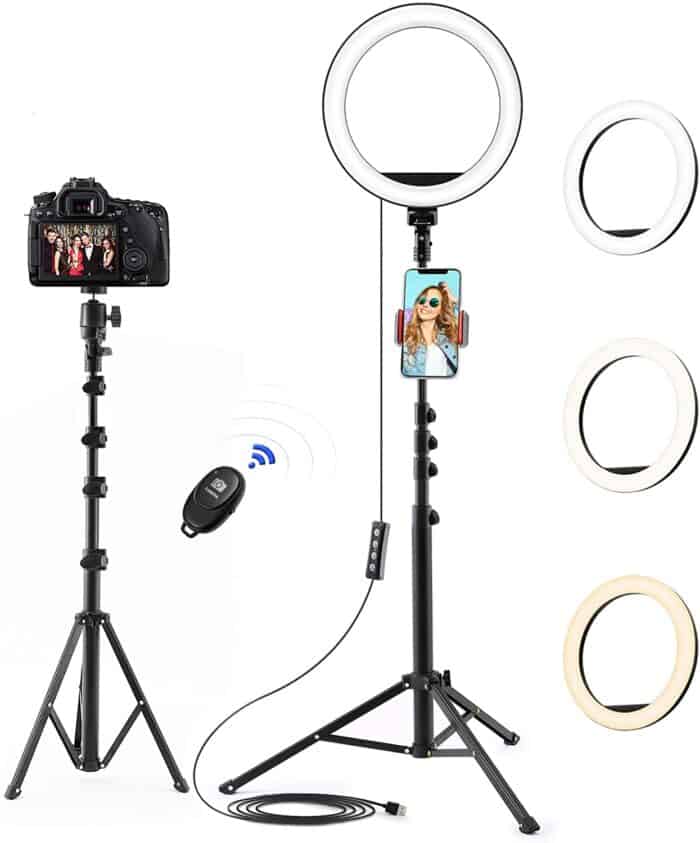
Another good idea for lighting is a ring light (photo above). You put one around your camera and the ring will give you a pleasing evenly lit glow. Perfect for a presentation or a job interview.
A Camera with High Quality 4K Video
Your smartphone is the obvious choice when it comes to choosing a camera to use. iPhone. Android. Doesn’t matter. It has a built-in camera that can do the job.
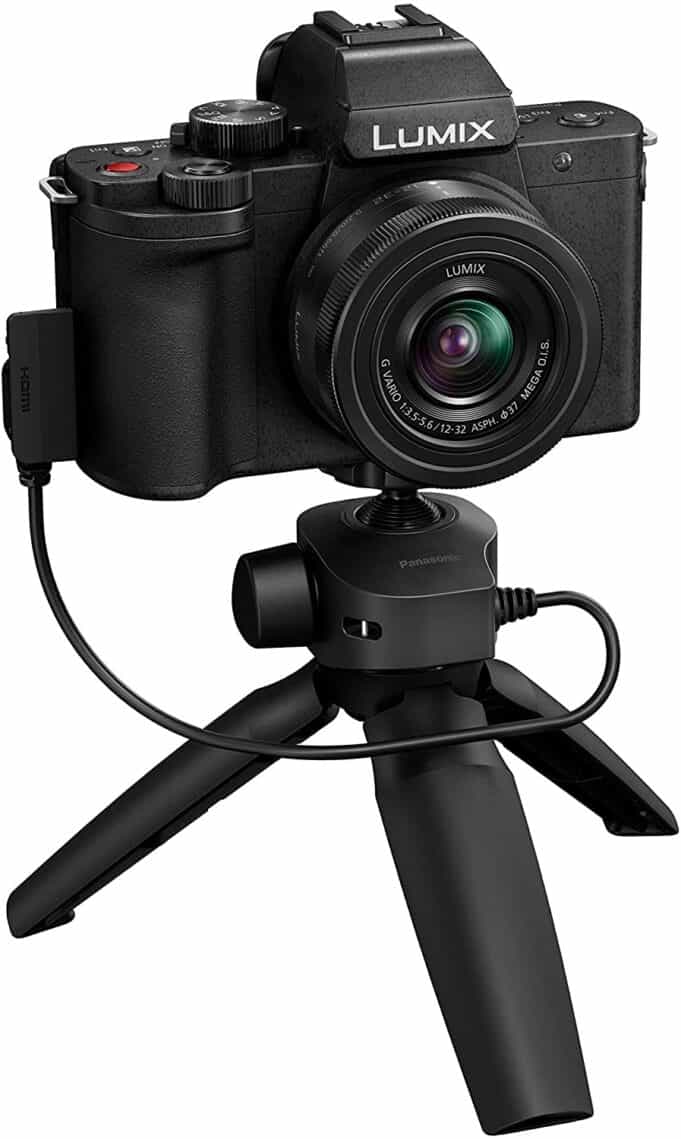
However, if you want to up-level overall image quality and plan to shoot many corporate style videos — beyond even the pandemic — then consider investing in a DSLR or mirrorless camera. There are plenty of choices on the market. But you’ll likely want to stick around the $500-1,000 range. Unless you’re planning on making films then these entry level models from the likes of Panasonic, Sony, Canon and Fujifilm should produce outstanding results:
And an upgrade pick for those interested in also diving deeper into photography:
When it comes to the camera settings I could write an entire tutorial on the topic. For now, however, you’ll want to shoot video in manual mode (“M” on the mode dial on top).
After that you need to adjust three main settings:
- Aperture (of f-stop) — this is how much light hits the sensor. It’s controlled by allowing more light (using a smaller f-stop like f 1.8) or allowing less light (using a larger f-stop like f 8). Typically you’ll want somewhere around f 2.8 to f 5.6. But this greatly depends on your lighting and desired look.
- Shutter speed — when shooting video there’s a simple rule for shutter speed. If you’re shooting at 30fps set shutter to 1/60. If you’re shooting at 24fps set shutter to 1/48.
- ISO — in the old days people bought packs of film based on ISO, how responsive the film stock was to light. With digital that doesn’t apply, however the principle of ISO carries over. Essentially, the higher the ISO the brighter the image will be. But that comes at a cost. There will be more grain. So the lower the ISO the cleaner the result. Ideally you’ll want to be setting ISO from 100 to about 800 or so. Again, there won’t be a perfect answer, but this will get you started.
As you dial in these three key settings you’ll want to look at the camera’s on-screen indicator. Each camera is a bit different. But once you find that display you’ll quickly learn to tweak things as needed to get the exposure set just right.
For a lens I’d keep it simple and use the kit lens (the one that’s included with the camera).
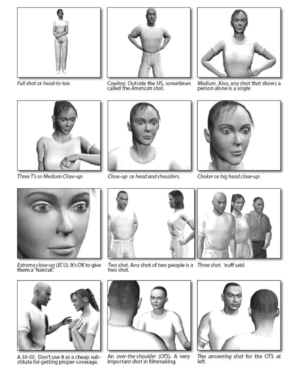
Then you should learn some basic framing guidelines. Study this cheat sheet below. Though some of these shots are for narrative purposes they illustrate proper use of head room and cut points:
Sound Can Make or Break Your Video
Sound is absolutely critical. Watch a trailer from a new superhero movie. Now watch a random home made movie you find on YouTube. Chances are there’s a huge difference in production value in many ways, sound being the most immediately noticeable.
If you’re recording corporate video at home you’re sound has to be as best as possible.
Like everything else there’s a few things you can plan in advance to achieve a professional result.
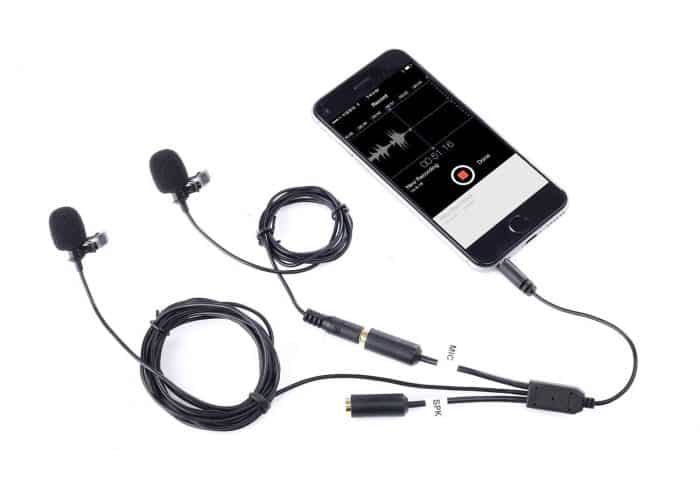
A lavalier microphone is a great and inexpensive option (I like Rode, and for lower priced options I like Shure). This is the most popular choice for interviews and talking head news segments. You’ll clip it on as close to your mouth as possible while trying to blend it in with your apparel. Then run the wire down, across the floor and plug it into your camera using the 3.5mm jack. Because the lav is well positioned you should get high signal to noise. Meaning distant background noises like traffic, or loud roommates will be minimized.
A shotgun microphone might be a suitable choice. That is a long microphone that sits on top of the camera. However, if you’re not right up close to the camera this might not be as good as a lav.
Finally, if you’re sitting at a desk, a good alternative would be to use something like a Blue Yeti microphone. These are popular with podcasters. You’ll speak very closely to the mic, and consequently get incredibly vibrant and clean audio. The catch? Unless you mount it otherwise, the microphone will be in the shot. That may or may not matter depending on your project.
Yes, you could just use your laptop or camera and its built-in microphone. Just know the result won’t be nearly as good as the above options. And if you want production value, you’ll want to learn about sound. The difference in quality is worth the effort.
Deliver Your Message Like a Pro
Unless you have photographic memory or some such rarified skill if you’re like the rest of us and a mere mortal you’ll need to think about how you’ll deliver your message.
A teleprompter is almost always going to be the answer.
For short videos and presentations you may be able to wing it or memorize what you need and practice, practice, practice before recording a take.
But for longer ones you’ll likely need to get a teleprompter.
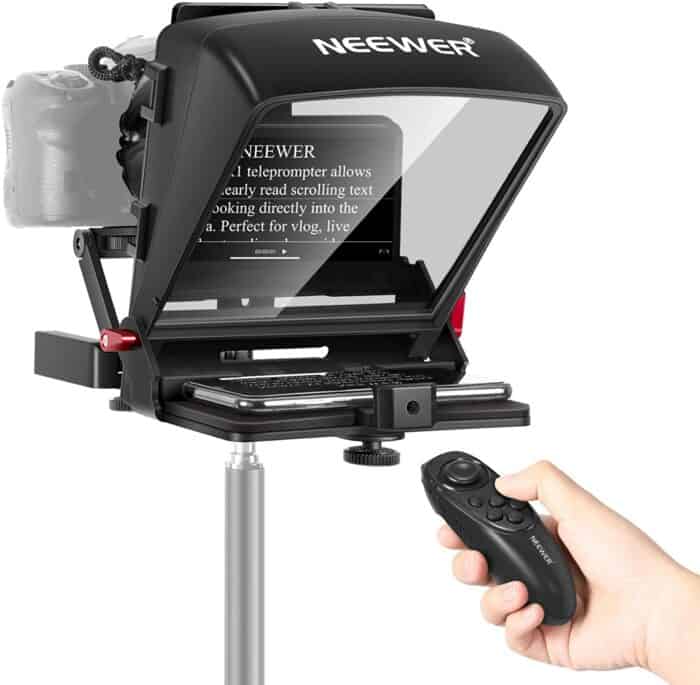
Look on Amazon for low cost, but well-reviewed options. Then use your phone or tablet to load your script or presentation notes. You’ll then place it on the teleprompter which will then reflect it using a mirror in front of the camera lens. That way you can speak directly to your audience while still being able to read your notes. Having a friend or family member might help here. And if this is your first time working with a teleprompter you’ll need to practice on timing and delivery. Once again like everything we’ve covered here the effort is worth it in the end.
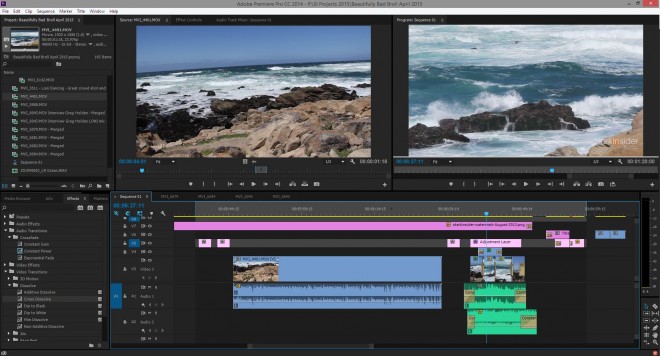
Finally, you’ll need to edit your video. No one wants to watch an overly long video with lots of “uhs” and “ahs” and hiccups.
If you have a Mac use iMovie. If you’re on Windows consider downloading a free copy of Blackmagic DaVinci Resolve.
There’s many other choices that will work. Try to minimize overly distracting transition effects. Instead, use simple cuts and perhaps a fade at the beginning and end.
Regarding background music, keep the levels low and make sure you have a license or use opt for a royalty free track (there’s plenty available, just Google).
And that’s a Wrap!
These tips merely represent the tip of the videography iceberg. Hopefully, though, there’s enough to get you started.
Other things to consider include wardrobe, lenses, and camera movement. Skills and areas to improve over time.
To summarize:
- Find a good, well lit, distraction-free location
- Light your subject matter well with 3-point lights or a ring light
- Go for a DSLR or mirrorless camera to up-level the result
- Use a lavalier microphone or something similar so your audience gets the message loud and clear
- Plan your message by writing notes or a script and use a teleprompter to deliver your takes like a pro
Good luck with your corporate video projects. With all of us at home now is the perfect time to hone your skills.
Who knows, you may actually enjoy the process and develop a new hobby in the process.

