
FilmConvert today announced support for the Canon EOS 80D for their popular video production plug-in.
You either love it or you hate it.
Film grain is one of those things that either reminds you of cinematic production values and the big screen, or makes you feel as if we’re living in the past, and not taking advantage of all the modern stuff. Stuff like 4K, HDR, 10-bit color, etc.
For those, like myself, you do anything in their power to make their DSLR and mirrorless video footage look like film, then you’ll be happy know that FilmConvert now supports one of my all-time favorite cameras, the Canon EOS 80D.
The 80D is a fantastic camera. And in combination with FilmConvert you can really get creative and produce some wonderful looks.
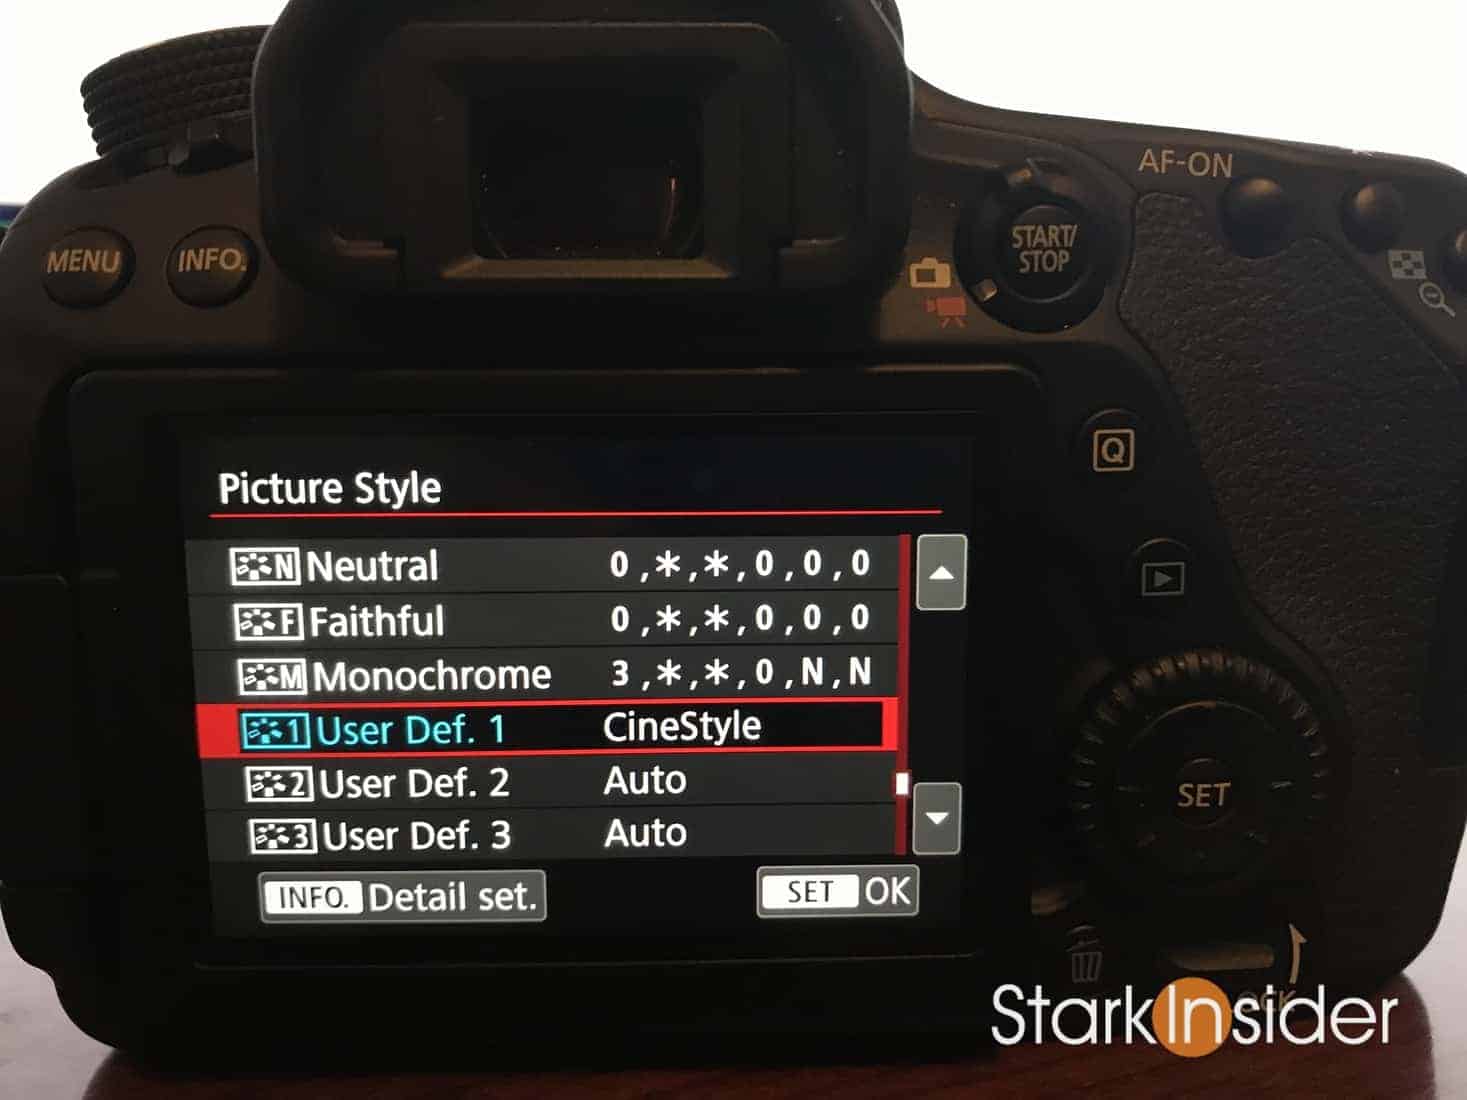
I recommend shooting a flat picture profile in camera. The built-in neutral profile works. But you can go a step further and download and install CineStyle by Technicolor.
Then you can use FilmConvert to grade and bring to life in Premiere Pro (or Blackmagic Resolve or Apple Final Cut Pro X, or on just about any other popular video editing platform out there).
Here’s how you can set up your 80D to get going:
Prep Your Canon EOS 80D to Shoot Flat Footage
- Download the Technicolor CineStyle profile for Canon DSLRs here
- Install CineStyle onto your 80D using a USB cable and the Canon utility (you’ll assign it to one of the user defined slots)
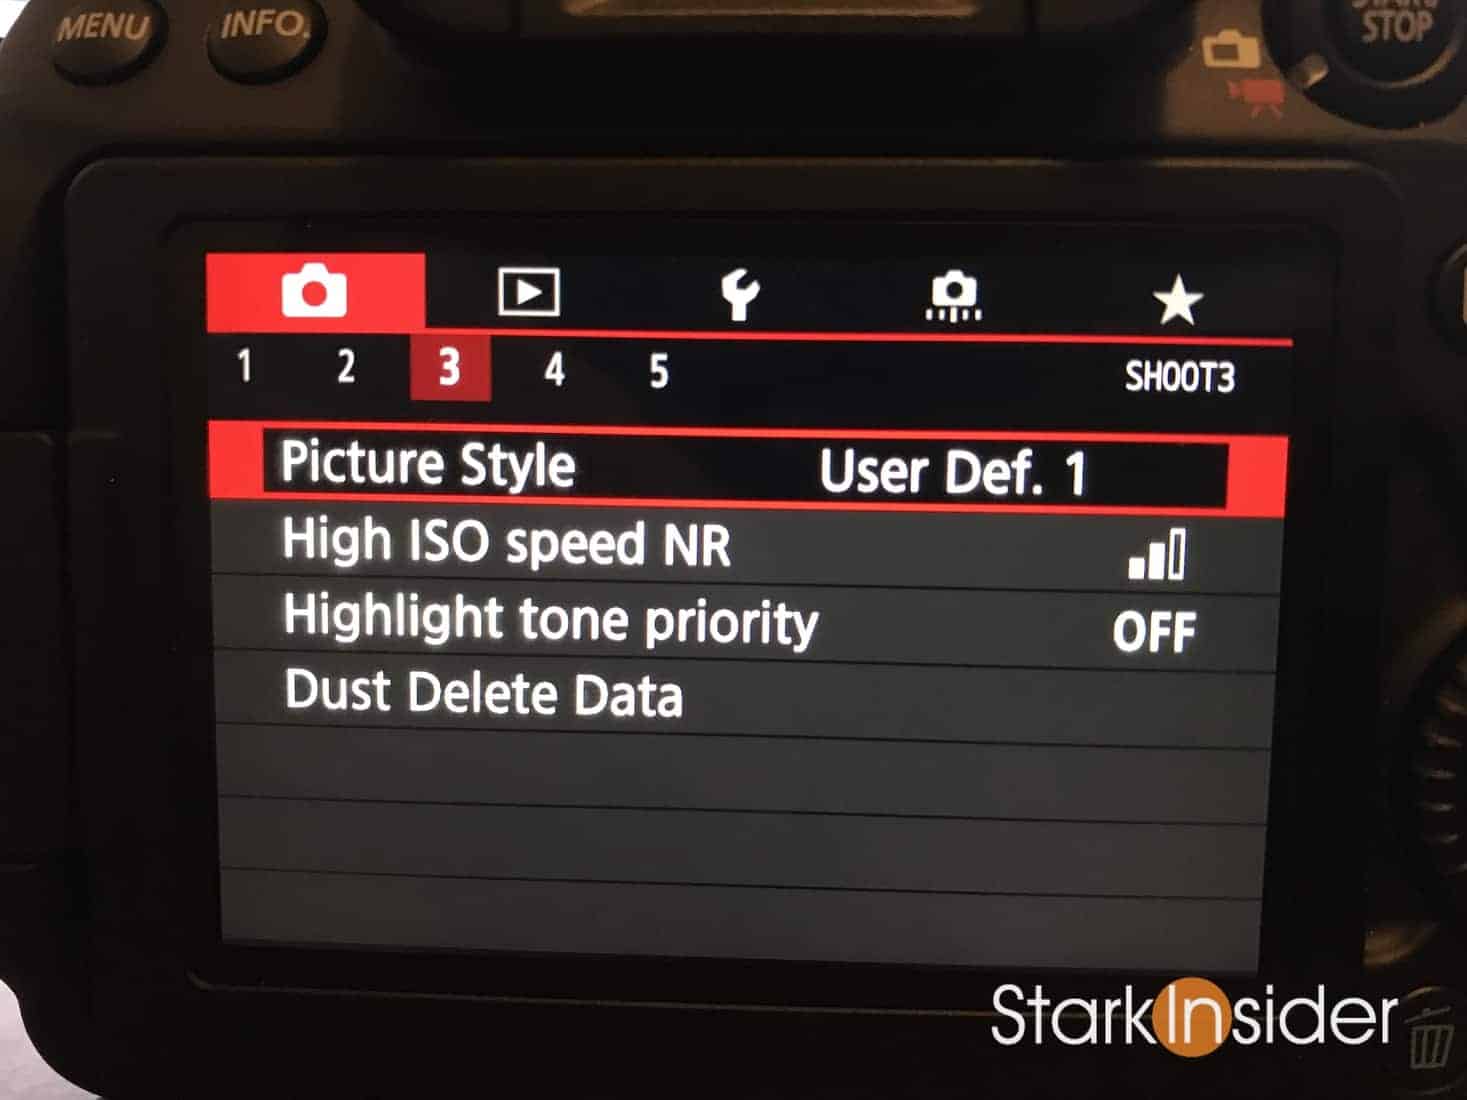
- Select the CineStyle profile in the 80D menu
- Download FilmConvert here for your editor and install
- Shoot some video
Then, bring your footage into Premiere or your editor of choice. It will look flat and lifeless. But that’s because CineStyle is designed to boost the dynamic range of the camera. Shooting as flat an image as possible gives you flexibility later to creatively color grade your footage. Go for a blockbuster look, Matrix green, or de-saturated melancholy. You can really have some fun with it.
How to Use FilmConvert with your Canon EOS 80D
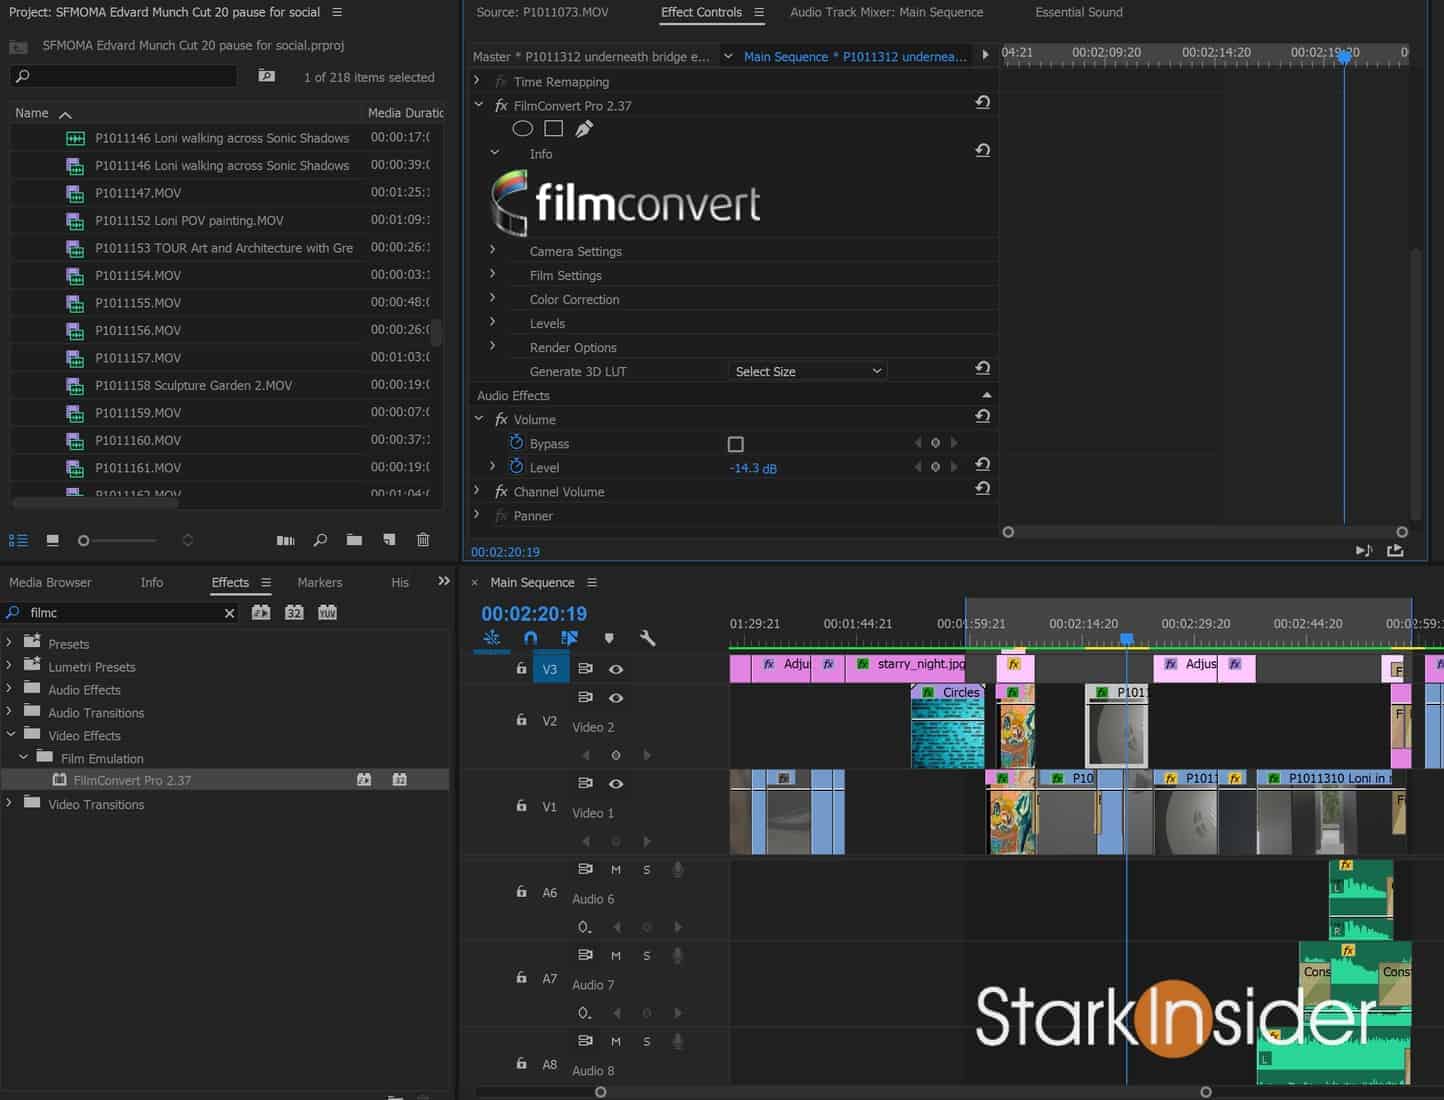
- Apply the FilmConvert effect (from the Effects panel if you’re using Premiere) to your video clips or adjustment layers
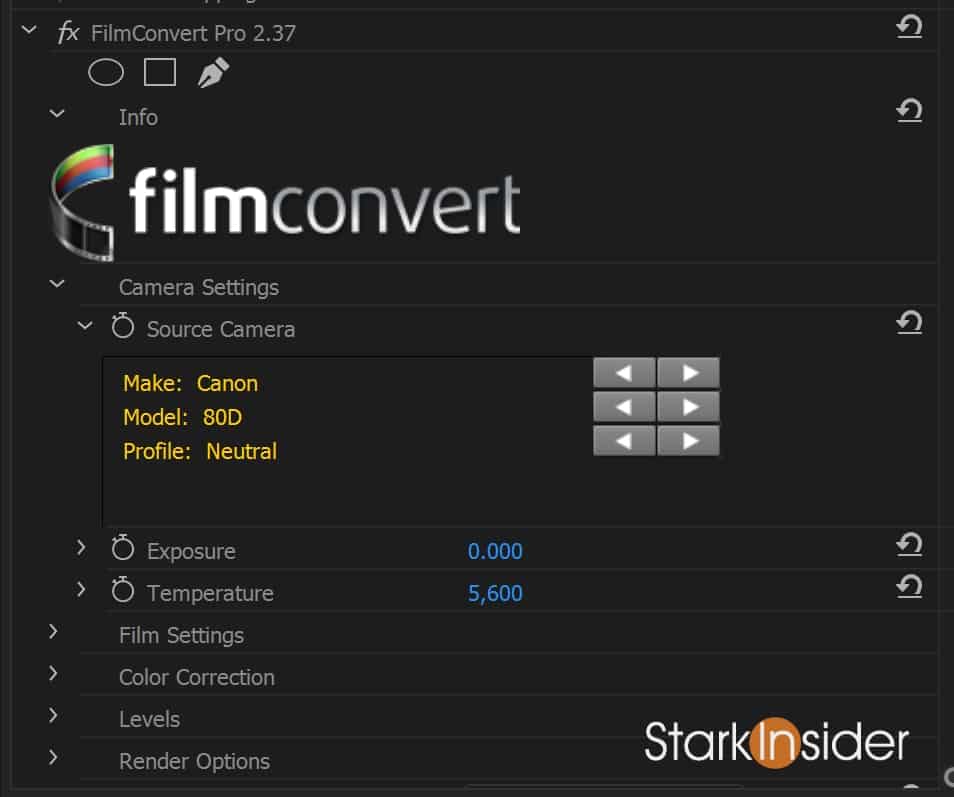
- Then the first thing you’ll do is select your “Source Camera”: Canon / 80D / Neutral
- You should notice your footage spring to life with more contrast and color
- From there, I would recommend boosting saturation (try 130 – but monitor your scopes to get it right)
- Unless you want dramatic grain effect you maybe want to dial down the film grain setting (it defaults to 100) under “Film Settings”; I use around 40-50
- From there the rest is up to you – you can adjust exposure, white balance to color correct and use color wheels and other tools to color grade
Basically, with FilmConvert you’ve got a license to be really creative and achieve expensive Hollywood looks that would otherwise not be possible using something like Canon’s “Standard” picture profile. You’ll should notice better dynamic range, smoother highlights and overall a more pleasing filmic look. The idea is to make your Canon DSLR not look like a Canon DSLR.
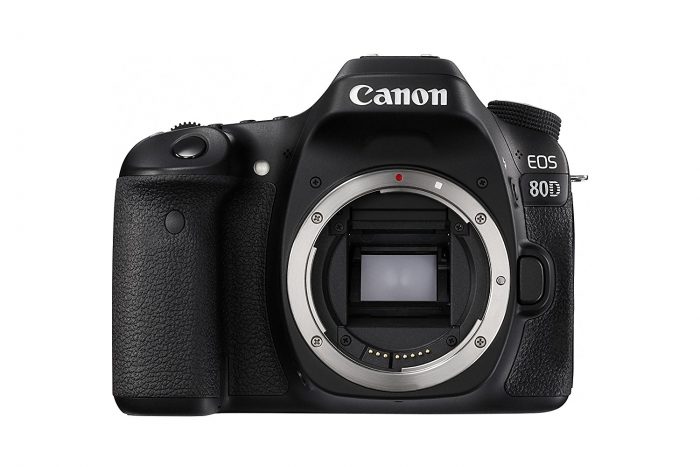
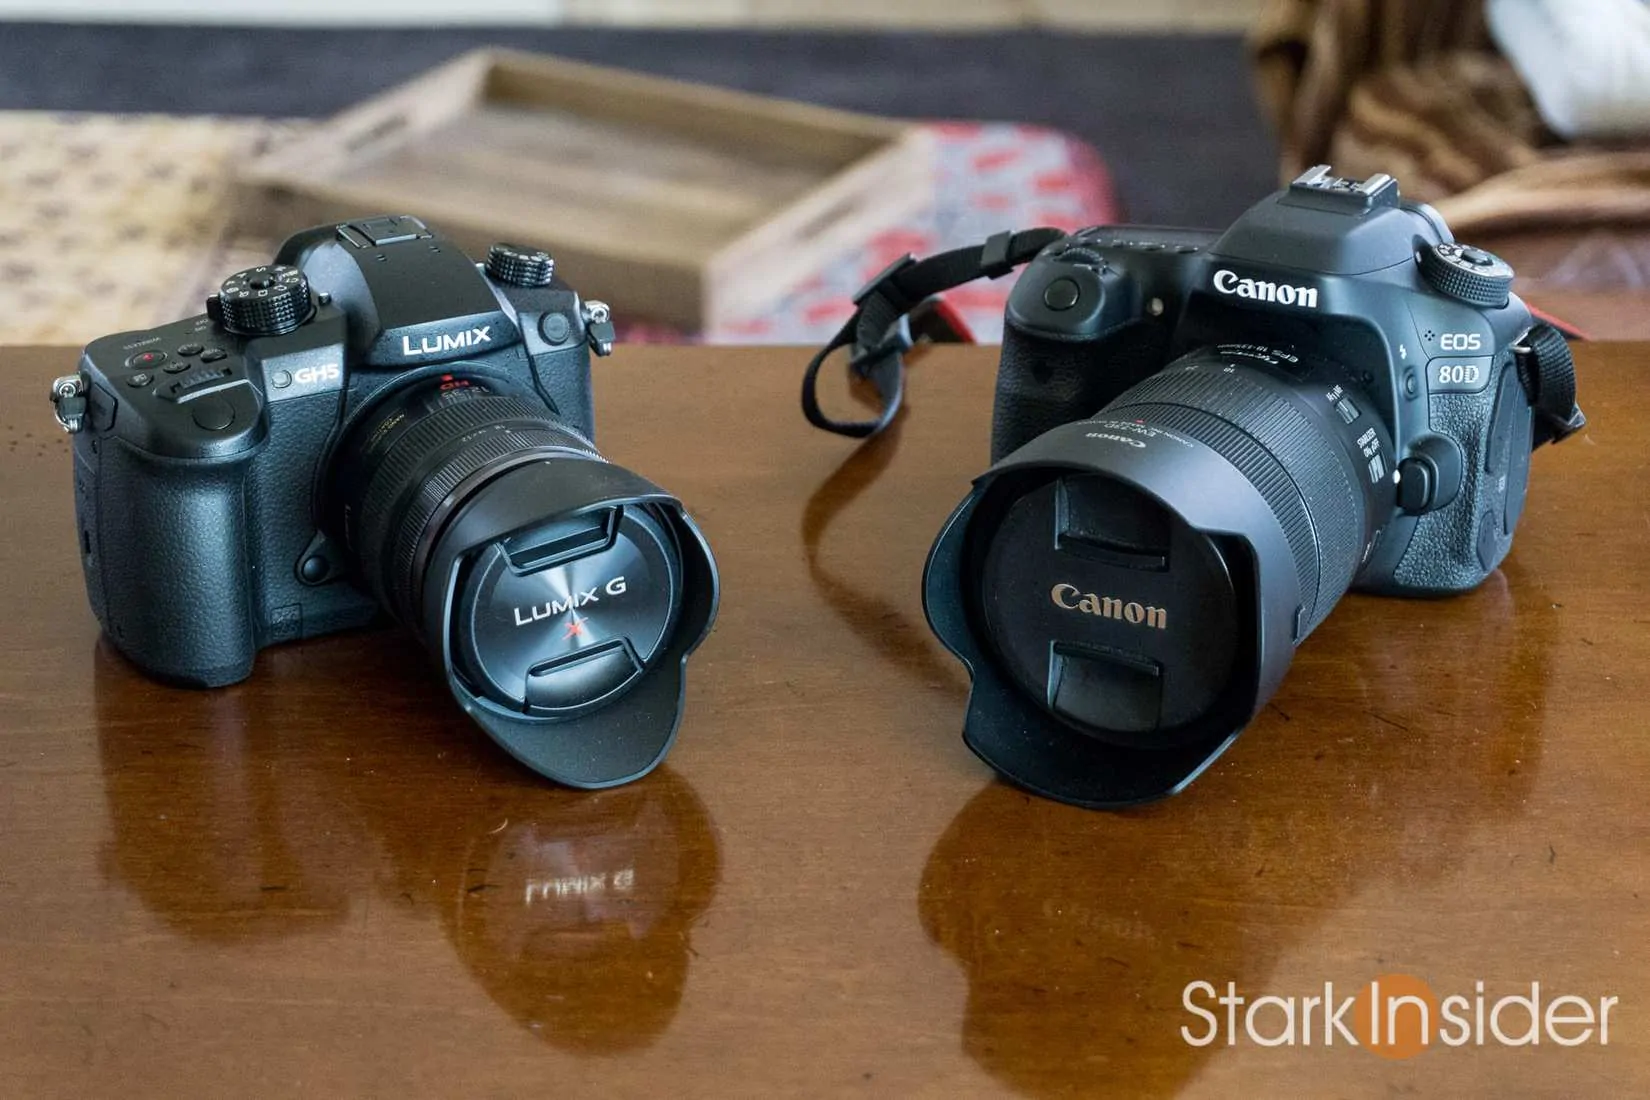
Regarding the 80D itself, I highly recommend it (only $1,199 on Amazon now, which is far less than when it first hit the market last year). For the money you get a lot of camera.
The headline feature is its best-in-class Dual Pixel Auto-Focus (DPAF). It’s unbeatable. Tap an object on the 80D LCD and the camera will track it across the frame. DPAF is also great for interviews, where you might need to keep someone who is shifting in the chair slightly in focus. From my experience no one comes close to nailing AF as well as Canon. Note: if you’re just starting out and don’t have the budget for an 80D, look for a used one, or consider the predecessor, the EOS 70D, which was Canon’s first DSLR with DPAF — and it’s fantastic on that model too.
Recently, I’ve been shooting on the Panasonic GH5. For video it’s hard to beat. But it is a pricey camera to be sure so I always recommend Canon’s Rebel line and EOS line for those looking to get into video on a budget. For real value seekers look for a Rebel T2i and install the Magic Lantern firmware — you’ll get all the focus and exposure tools you’ll need, plus a bunch of other stuff that will help you make films. Best of all, ML is free!
Though I use Premiere’s built-in Lumetri Color on many projects, for my big ones where I want to achieve a special film look I turn to FilmConvert. I’ve been using the plug-in as long as I can remember: on the 60D, then 70D, 80D, and, also, more recently, on the Canon C100.
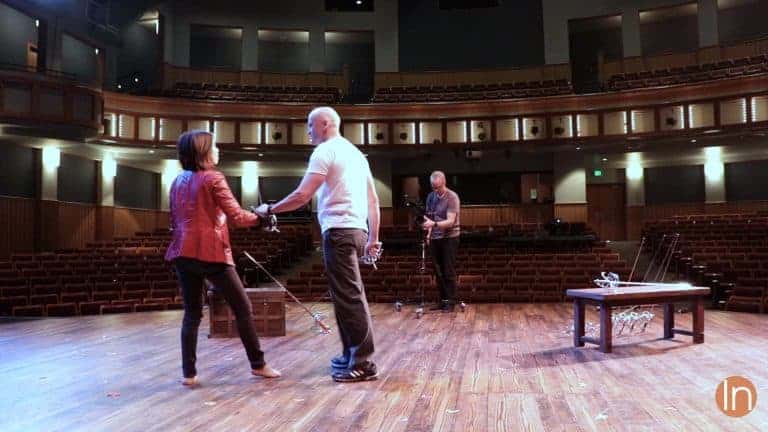
Here’s an example of a video I shot on a Canon EOS DSLR (70D) and finished in Premiere with FilmConvert.
Canon DSLR with FilmConvert: ‘Wrong’s What I Do Best’
Location: San Francisco Art Institute.
Tools: Canon EOS 70D, Sigma 18-35mm Art lens. Canon 18-135mm kit lens.
Finishing: Premiere Pro. FilmConvert.
FilmConvert, along with Neat Video (for noise reduction) and Twixtor (for smoothing out slow motion), are my trio of must-have plugins.
Pair the Canon EOS 80D with the FilmConvert plug-in, and the world is yours.
As for film grain, as you might’ve guessed I love it. Ever seen a film called The Godfather (1972)?
Happy Shooting!