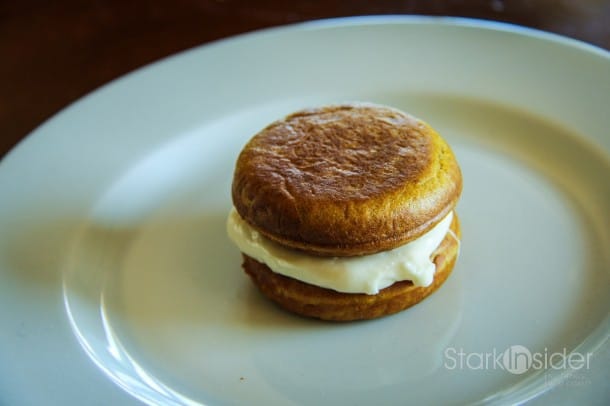
Move over apple pie, the whoopie pie is vying for the top spot in the hall of Americana desserts. Although Pennsylvania, Maine and New Hampshire all claim to be the origin of this dessert, it is really Maine that has stepped up to truly own this dessert when its State Legislature proposed to make the whoopie pie the official state pie in 2011. Now that is true love for a dessert.
Yours truly has been hankering for a pumpkin whoopie pie ever since I tasted the ones at Moustache Baked Goods in Sonoma. An invitation to a brunch and a whoopie pie maker review unit sent to Stark Insider’s California Kitchen were the last two ingredients needed to inspire me to break out the baking mitts.
Although the original whoopie pies were chocolate-flavored and resembled puffy Oreo cookies, I wanted the moist and comforting hug of pumpkin, cinnamon and nutmeg paired with a cream cheese filling.
Here is what you will need to create some whoopie. This recipe should make 24 small sandwiched whoopie pies. Plenty to make sure no one fights for one, not enough that you will be craving for more when the last one gets devoured.
“Make Whoopee, Not War” Pumpkin Whoopie Pie Ingredients
- 1 1/2 cups of organic all-purpose flour
- 1 cup of pumpkin (I used the canned stuff because I didn’t have fresh pumpkin on hand)
- 1 teaspoon of cinnamon
- 1/2 teaspoon of freshly ground nutmeg
- 1/2 teaspoon of ground ginger
- 1 teaspoon of baking powder
- 1/2 teaspoon of baking soda
- 1/4 teaspoon of sea salt
- 1/2 cup of canola oil
- 1 cup packed brown sugar
- 1 large organic free-range egg
- 1 tablespoon of milk
- 1/2 teaspoon of vanilla
1. In a medium-size bowl, combine flour, cinnamon, nutmeg, ginger, baking powder, baking soda, and salt.
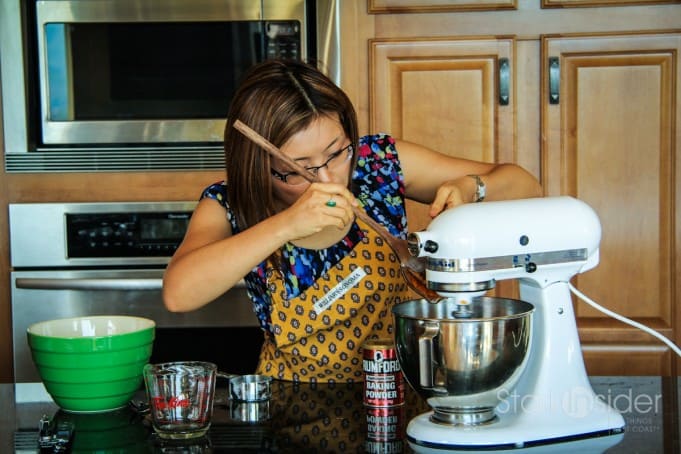
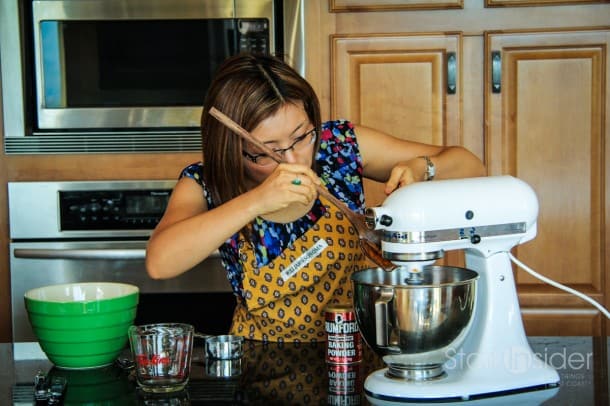
2. In a large mixing bowl (suggest this is where you bring out your Kitchen-aid mixer), place your oil and brown sugar. Beat together on medium-high until light and creamy which should take about 2 minutes. I suggest placing the brown sugar in the bowl first and make sure the oil covers all the of sugar and start the mixer on slow. Otherwise, you will get granules of sugar flying all over your kitchen.
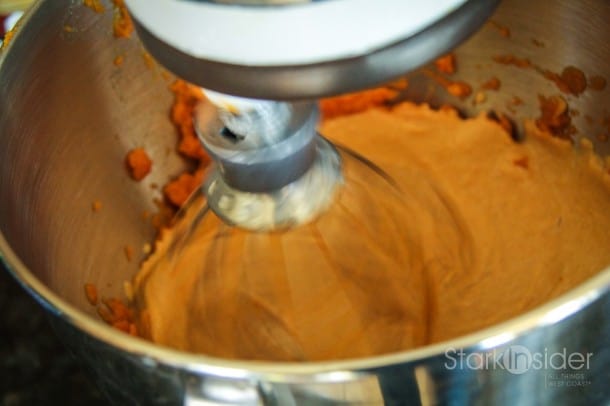
3. Beat in the egg, pumpkin, milk and vanilla. Finally add flour mixture until everything is well blended.
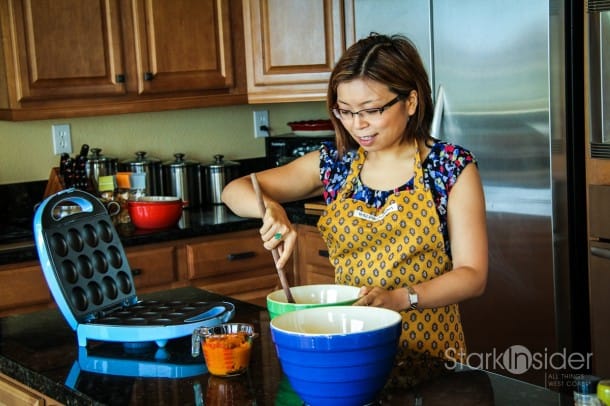
4. If you have a whoopie pie maker, preheat it until it is ready. Otherwise, you will need to preheat the oven to 375 degrees Fahrenheit and line 2 baking sheets with parchment paper.

5. When the whoopie pie maker or oven is ready, scoop 1 tablespoon of batter onto the pie maker or baking sheet. You can also use a pastry bag to dispense the batter more quickly and a nicer shape on the baking sheet.
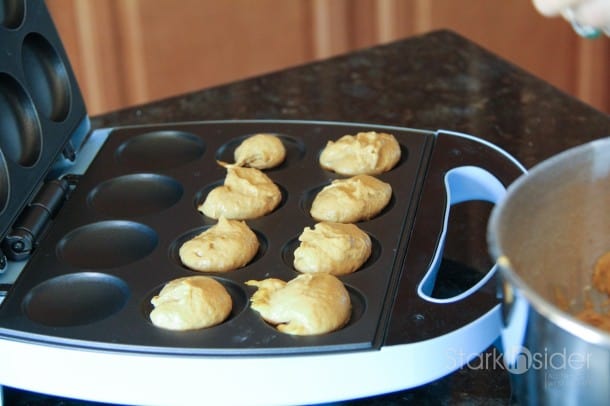
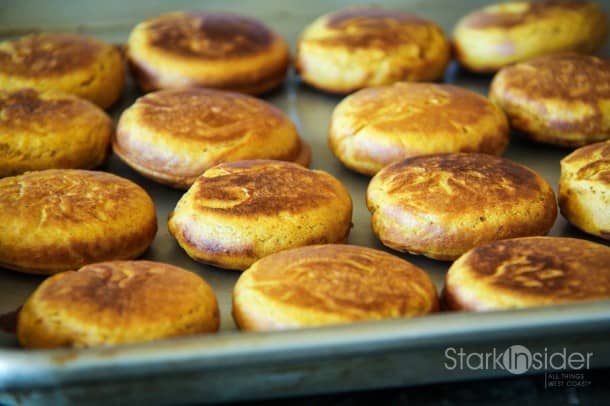
6. Because they are so miniature, the whoopie pies should only take about 2 to 2 1/2 minutes in a whoopie pie maker or 9-10 minutes in the oven. Make sure the center is fully cooked, but don’t over-bake or you will end up with dry whoopie pies.
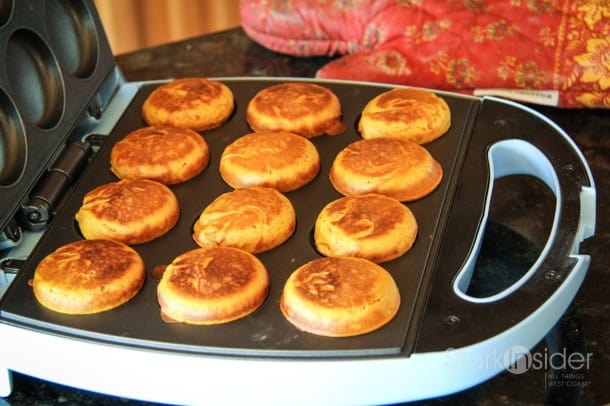
Once the whoopie pies are done, remove them from the maker or oven and let them cool on a rack.
While waiting for them to cool, you can make the cream cheese filling. For this you will need:
- 2 tablespoons of butter, softened to room temperature
- 2 ounces of organic cream cheese, softened
- 1 1/2 cup of confectioner’s sugar
- 1 teaspoon of vanilla
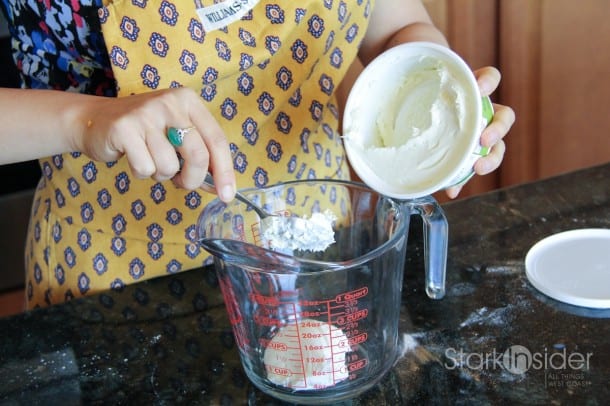
I placed all the ingredients in a measuring cup and used a hand mixer to mix all the ingredients together. It should take about 3-4 minutes. I chose to do this instead of my Kitchen-aid mixer because it was a much smaller amount of mixture so a hand mixer was able to do the job just a thoroughly.
By the time you have mixed up the cream cheese filling, the pumpkin whoopie pies should have cooled enough and be ready to assemble.
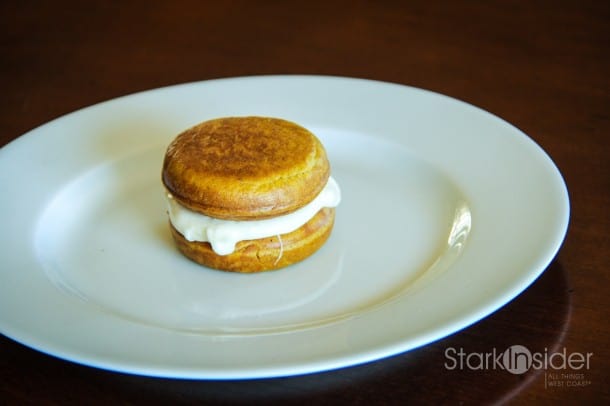
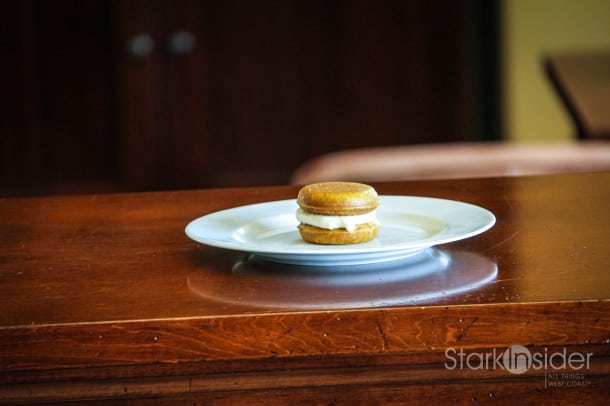
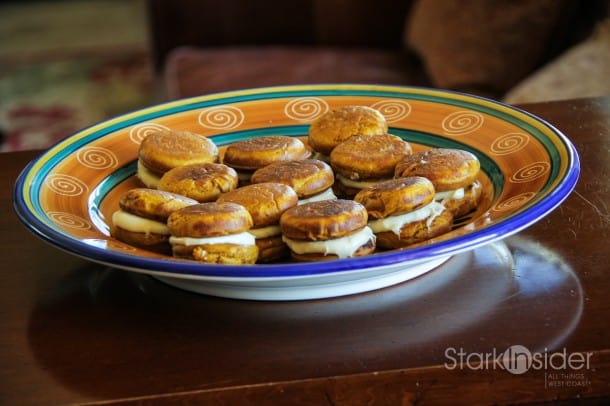
Regardless of the war on who originally invented the whoopie pie, these days, the whoopie pie is proving itself to be a truly versatile dessert. It can be served dressed up as individual delicacies on white French porcelain plates or served all together for a casual affair on a large playful platter. Sit-down, on-the-go. Messy good in the mouth, but clean to the touch. It is the sandwich of desserts.
Such a chameleon of desserts inspires one to make whoopee, not war…and you can too with this “Make whoopee, not war” pumpkin whoopie pie recipe.
