It’s Thanksgiving and time for something special. Read on to learn how to serve up a delicious turkey feast clay pot style.
I generally don’t like single-purpose kitchen equipment so you’ll never find an ice cream maker or a waffle maker in my kitchen.
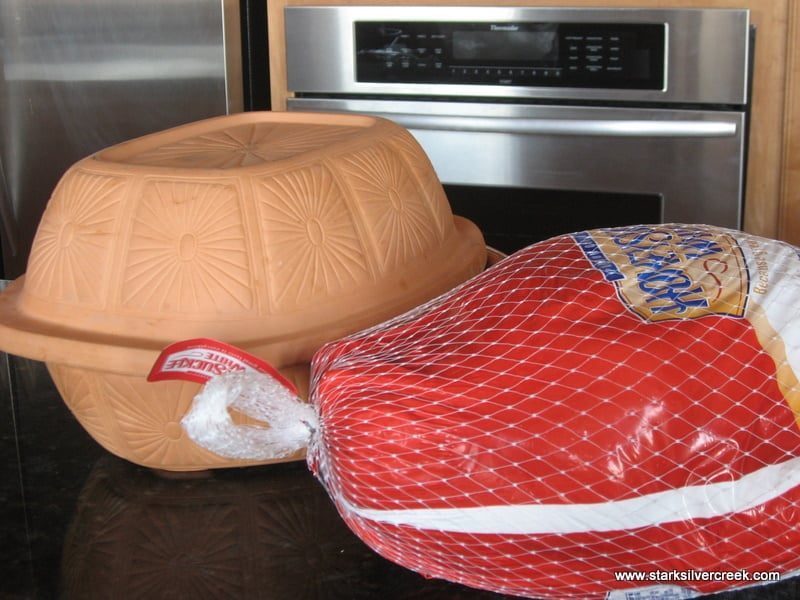
However, one exception I make to this rule is my Clay Pot which sits quietly on a top shelf in one of my cabinets and only makes an appearance once a year, in time for Thanksgiving.
For those who search for the ultimate juicy, tender turkey, put away your traditional roasters and basting brushes, because when it comes to ensuring a moist bird, the clay pot reigns supreme.
I have used this method for the past 4 years and if you follow some simple steps, you too will have happy guests, yummy leftovers and freedom from being tethered to the oven basting all day.
Strap on your seat belt and get ready for the ultimate 7-step guide to Turkey Triumph for this Thanksgiving!
Loni’s Ultimate 7 Step Clay Pot Turkey Triumph
Step 1:
Ensure plenty of runway for defrosting
Don’t wait until the last minute to get your turkey. Make sure you procure it at least 5 days in advance so it has plenty of time to defrost in the refrigerator. A 20lb turkey will take about 4 days to defrost and I like to add a day to this to ensure a completely thawed out turkey. On this 5th day, another option is to soak the entire turkey in a marinade which will add even more flavor to the turkey. This could be something as simple as just water and salt or you can spice it up with a couple of herbs pulverized with mortar and pestle.
Make sure your turkey is completely thawed, nothing will stack the odds against turkey success more than a partially frozen turkey.
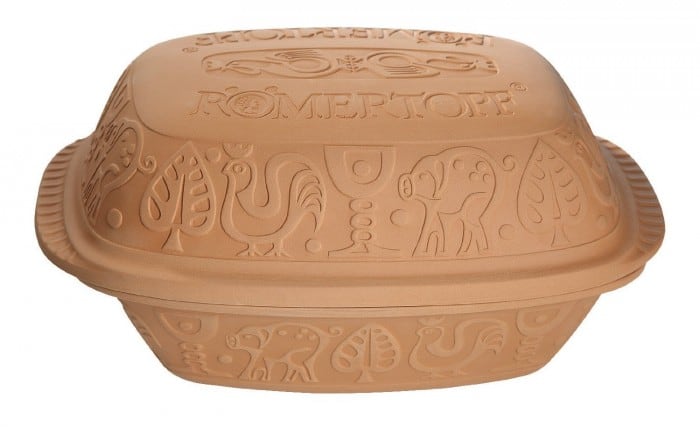
Recommended: Glazed Clay Cooker
If you don’t yet own a clay cooker here’s one I recommend.
Learn more: Romertopf Glazed Clay Cooker (Large)
After your turkey has been thawed out in the refrigerator and when you are ready to begin the cooking process, take it out to warm up to room temperature for another 3 hours. In general, do not keep turkeys or any meat at room temperature for more than 4 hours as bacteria does grow faster at warmer temperatures.
The reason I like to warm the turkey for a couple of hours at room temperature is because ideally, you want the outside of the turkey to be the same temperature as the inside of the turkey to ensure even cooking in an oven. For those that have cooked a turkey and the outside was done or overdone but the inside was still pink, this tip could be the remedy you are looking for.
THAWING CHART
Weight (lbs) Days in Refrigerator (days)
8-12 1 – 2
12-16 2 – 3
16-20 3 – 4
20-24 4 – 5
over 24 Where is my invitation to your dinner?
Step 2:
Soak the Clay Pot
The Clay Pot (both bottom and cover) should be soaked in a sink full of lukewarm water for 20-30 minutes. Make sure the water is clean and never use soap on a clay pot. The clay soaks in the water so you want to make sure that water is the only thing that is penetrating into the clay.
Step 3:
To stuff or not to stuff
The general reason you would want to stuff a turkey is if you prefer the taste of the stuffing from the cavity of the turkey. If you don’t have a strong preference, then my advice is to not stuff the turkey as it increases the amount of time your turkey needs to be in the oven and that means you increase the risk of over-cooking the outer portion of your turkey in order to ensure the center of the stuffing is cooked properly.
If you don’t stuff the turkey, I do like to put a bit of olive oil, butter and herbs in the cavity of the turkey to infuse the turkey with even more flavor.
If you don’t stuff the turkey, I do like to put a bit of olive oil, butter and herbs in the cavity of the turkey to infuse the turkey with even more flavor.
If you do end up stuffing the turkey, I like to cook the stuffing ahead of time and make sure that the stuffing goes into the turkey as hot as possible. This helps in the cooking process so that when the heat from the oven finally hits the stuffing, less time is spent warming up the stuffing.
For the stuffing (whether cooked in the turkey or out), I like to use a classic recipe:
The vegetables add flavor to the stuffing and keeps it moist without having to load up on just butter. Another ingredient that works well is some coarsely chopped chestnuts.

If you don’t have time to make the stuffing from scratch, another option is “Trader Joe’s Stuffing Mix”. If you use this method substitute the water for low sodium chicken broth and instead of all the butter called for on the recipe on the box, use as much vegetables as possible to reduce the amount of butter needed.
Either way, if you have a double oven, pop whatever stuffing that is not going into the turkey in the oven for 35-45 minutes at 350 degrees Fahrenheit. If you only have one oven, put all the ingredients except the bread cubes into a pot until boiling and then fold in the bread until all of it is moistened and cover for 10 minutes.
Step 4:
Placement of Turkey in Clay Pot
By now, your turkey is fully thawed, perhaps stuffed and ready to go into the clay pot. Gently take the Clay Pot out of the water, pat it down with a towel and gently place the turkey into the Clay Pot. Use some fresh sprigs of rosemary and a couple of thin pads of butter and wedge them between the skin of the turkey and the breasts, this will further ensure moistness of your bird.
If you have marinade, pour a couple of tablespoons over the turkey. Surround turkey with some additional cloves of garlic and onions. Sprinkle some sea salt, pepper and olive oil on top. Finally, carefully place the top of the clay pot over the turkey.
Step 5:
Sending your Turkey Off into Oven
Turn the oven to 325 degrees Fahrenheit and carefully set the clay pot into the cold oven. The nice thing here is that after you place your turkey in the oven, there is no more care and feeding needed until the last 25 minutes. Your turkey will stay moist because the oven keeps the moisture enclosed inside the clay pot.
Just before the turkey is done (about 25 minutes prior) – remove the clay pot from the oven, remove the clay pot cover and pour the juices into a pot. Quickly return the turkey back to the oven without the cover, baste the top with some of the juices. Turn the oven to 425 degrees Fahrenheit and allow the turkey to cook for the remaining 25 minutes. This last leg of the cooking is to ensure you get a nice brown roasted color on the turkey.
During this time, you can prepare the gravy which is Step 6.
ESTIMATED ROASTING TIME
Weight (lbs) Unstuffed (Hours) Stuffed (Hours)
8-12 2.75 – 3 3 – 3.5
12-14 3 – 3.75 3.5 – 4
14-18 3.75 – 4.25 4 – 4.25
18-20 4.25 – 4.5 4.25 – 4.75
20-24 4.5 – 5 4.75 – 5.25
Step 6:
The Ultimate Gravy
Use the juices from the clay pot as the base for the gravy. Place into the pot the turkey neck and any of the other parts that come in that nice package stuffed into the cavity of any frozen turkey. Bring this to a boil. Mix a tablespoon of corn starch in 1/4 cup of cold water and add the mixture to the pot. At this point, add a dry gravy mix (eg. McCormick Brown Gravy Mix) or a wet one (eg. Trader Joe’s Turkey Gravy).
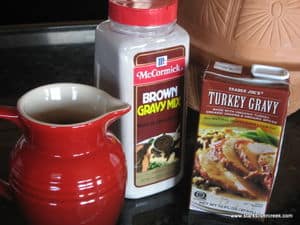
Now for the purists out there, you may be shocked at this suggestion, but if you are in it for the taste factor, the mixture of the juices from the turkey along with a commercial gravy mix will ensure it tastes delicious and that you have plenty of gravy to go around when your guests start pouring in on top of their turkey, stuffing and mashed potatoes.
Step 7:
Enjoy the Ultimate Clay Pot Turkey
By this time, the turkey should be out of the oven. Let it rest for 20 minutes and then cut into it.
For those that want the benefit of the clay pot, but don’t want guest to think you have side-stepped tradition, transfer the turkey to a traditional roasting pan, dab some grease around the pan, run around the the kitchen until you break out in a sweat and then enter the dining room with your turkey.
Bon Appetit!