The first time I brushed past my lavender patch this summer, I swear the air sighed in relief. Those five purple stalks dotting my garden weren’t just decoration — they were tiny mood-boosters waiting to be unlocked. In this guide, I’ll show you how to make lavender oil at home with a fuss-free, cold-pressed method that preserves every last drop of pretty-purple goodness and skin-soothing magic.
Picture this: you, an afternoon, a mortar and pestle, and the heady perfume of lavender filling the air while your neighbors wonder if you’ve secretly opened a boutique spa. Because you have — right in your own backyard.
Ready to capture all that bliss in a jar? Let’s dive in.
P.S. If you find yourself humming a spa playlist or sketching floral doodles while you work, you’re doing it exactly right.
1. Harvest the lavender flowers

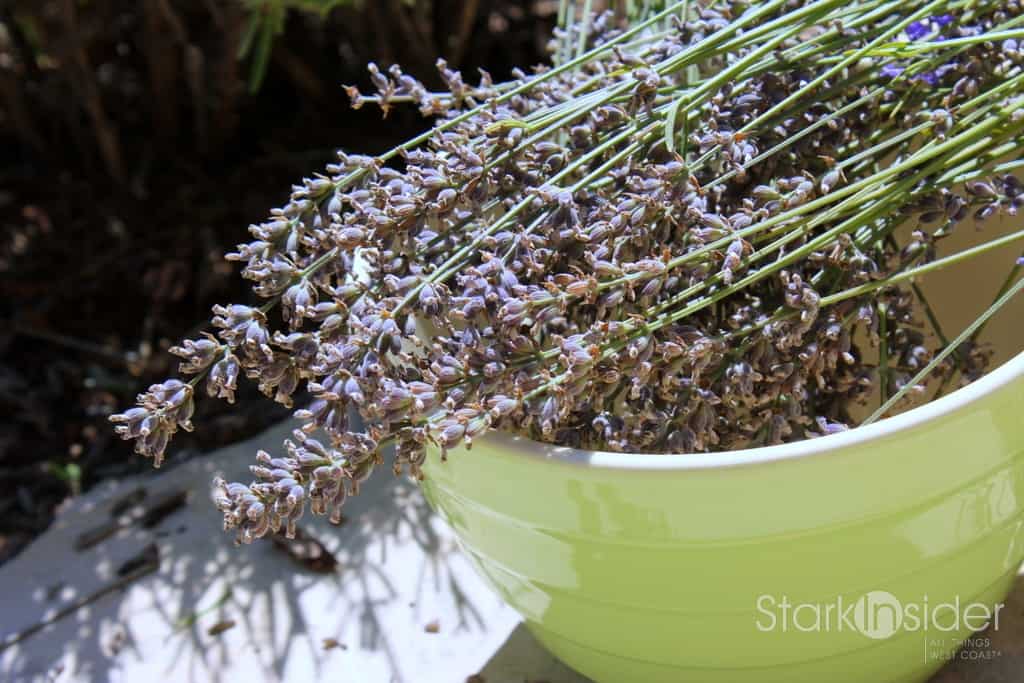
Snip your lavender blooms with clean scissors — no need for farm sickles. I wait a few weeks past peak bloom: the purple fades a bit, but the scent is still at full strength.
On lavender farms, they use sickles or knives to speed up the process, but if you are talking about just a couple of plants, regular scissors work fine and are a lot safer.
Some sources tell you to harvest right at the peak of bloom when the lavender is the most intense hue. I find that the scent is just as poignant a few weeks past this peak and wait to harvest my lavender then so that I can enjoy the bright colors in my backyard before I transform the flowers into lavender oil.
2. Separate flowers from the stem

Hold each stem between thumb and forefinger and slide downward to free the blossoms.
Depending on how many stems you have, you may start developing symptoms of “rug burn”. Either rest or, to help alleviate the sensation, rub some of the carrier oil on your fingers to reduce the friction.
3. Cold-press to extract the essence

I extract the oils of lavender using what I call a ‘cold pressed’ method with mortar and pestle. It is a bit more work than some other methods requiring one to heat/simmer the oil and lavender in a pot which I think could damage some of the useful qualities of lavender. There are also other methods that recommend just placing the flowers and even the stems into a jar of oil and placing the enclosed jar in a warm area from 48 hours to 1 month to allow the lavender to completely infuse the oil.
I think the mortar and pestle method enables the best extraction while still protecting the positive properties of lavender.
What oil to use? I like jojoba oil of all the oils I’ve tried. Jojoba oil is a botanical extract of the seed of the jojoba tree and is the closest substance to human skin oil. It is also highly stable, non-comedogenic, and will not become rancid or lose antioxidants over time. Finally, it is easily absorbed by the skin. Since I will use my lavender oil mainly as one of the key ingredients for a massage butter I create, jojoba oil is the perfect choice.
Other oils to try include sweet almond oil, olive oil, and grape seed oil. Olive oil is an interesting choice, but I have found some drawbacks. The extra virgin olive oil is lighter in consistency, but also has the most poignant scent of its own. If you like the combination of olive oil and lavender scent, then go for it. Otherwise, the regular olive oil with less scent is more viscous, which I don’t like.
Pour enough oil into the mortar to reach the top of the lavender flowers. Then use the pestle to macerate the lavender. By now, your kitchen should be filled with the heavenly smell of lavender. Keep doing this for about 15-30 minutes. Then pour more oil into the mortar until you have filled it up 2/3 of the way. Cover the mortar and let it stand for at least 48 hours or as long as you desire.
If you have several batches, pour the first batch from the mortar into a jar and repeat.

4. Strain your homemade lavender oil

You can use a sieve as suggested by some; however, I find the best method is two layers of cheesecloth over a measuring cup, secured with an elastic band. Using a sieve, it is hard to press all the oil out of the lavender flowers. Using cheesecloth will make it a lot easier to do this as you will see demonstrated below.
Line a measuring cup with two layers of cheesecloth, pour the mixture through, twist into a bundle, and squeeze out every last drop.

Next, carefully wrap the cheesecloth around the lavender flowers. Twist into a ball and use your hands to squeeze all the oil from the flowers. This is especially important when you are using a more expensive oil such as jojoba oil.

5. Store and preserve your lavender oil
Decant into a clean, dark-glass jar. Freeze any oil you won’t use within a month to lock in the scent and goodness.
Voila! You have lavender oil. It is nice to collect it in a measuring cup since it has a nice pour spout you can use to transfer it into your jar or bottle of choice. Ideally, you want the jar to be clean, made of dark glass and to have a tightly sealed lid.
Some suggest if you are going to store the lavender oil for months to actually freeze it. I freeze any lavender oil I don’t plan to use within the month to maintain freshness. I think this is a personal preference.
There you have it. Your very own DIY lavender oil. What I like about making your own lavender oil is that you know exactly how it was grown, what is in it and also get to experience the joys from using something from your very own backyard.
Most of my lavender oil will go into a massage butter that I make. I’ll share my recipe for massage butter another time.