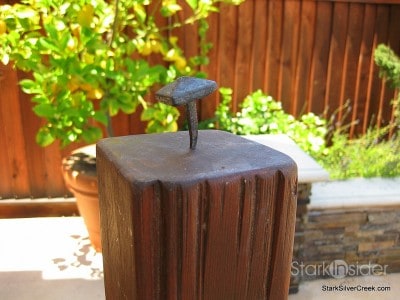
While I was in Tuscany meandering through wineries and tiny shops in rustic villages, I stumbled across a blacksmith shop that had wonderful iron work. I spotted a selection of iron nails made by the blacksmith who was also the shop owner.
I wasn’t sure at the time what I was going to do with them so I purchased 10 of them figuring that whatever project I would conceive of in the future probably wouldn’t require more. They were wrapped up in bubble wrap and brown paper. Days, months and years after the trip, I dreamed up different projects that would require these iron nails.
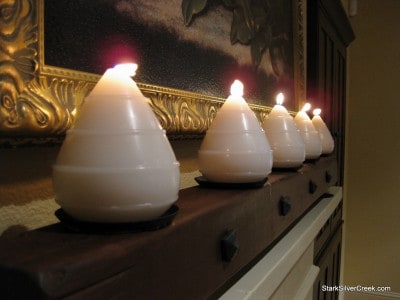
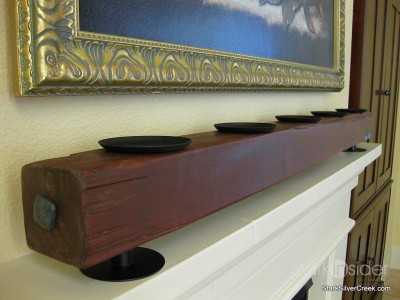
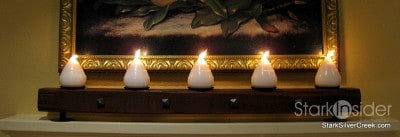
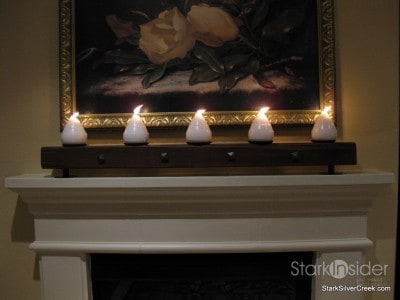
Finally, staring at a fireplace mantel, I became inspired to create a Tuscan-style candle holder that would span the length of the mantel.
Here is what you will need for the project:
Loni’s Tuscan-style Candle Holder Material List
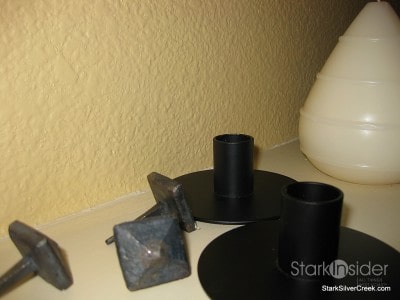
- 6 – iron nails
- 1 – 4′ piece of 4×4 redwood or any other kind of wood that stains well
- 5 – black metal candle dishes no wider than 4″ in diameter
- 2 – simple black taper candle holders for the legs of the candle holder (I found mine in Ikea of all places)
- glue that will adhere to metal and wood
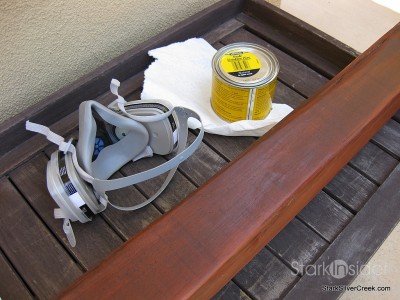
- wood stain (I chose a dark brown stain)
- wood wax (This is to seal the wood and give it a finished look
You will also need a hammer, a pencil, some masking tape, measuring tape and a sander.

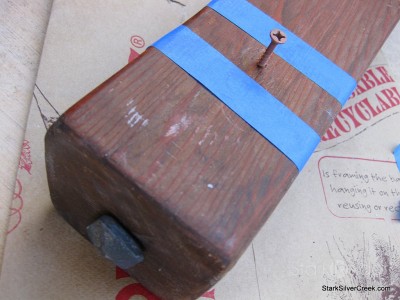
1. Take the 4×4 piece of wood and sand it down until it is smooth. Then distress it by putting in dents and nicks into the wood.
2. Stain the 4×4 to the desired color and apply a wax when the stain has dried. Stain should dry overnight.
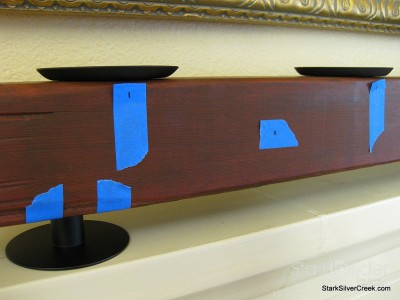
3. Using the measuring tape, masking tape and the pencil mark off the placement of the 5 candle dishes and the locations for the nail heads.

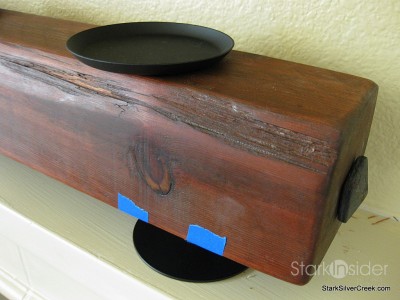
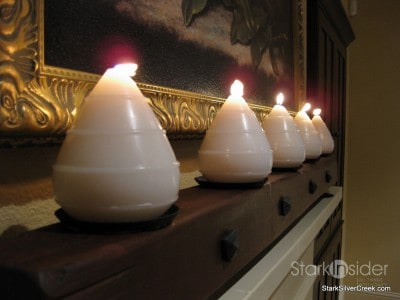
4. Hammer in the nail heads. Four along the sides and one on each of the 2 ends.

5. Place a small amount of glue on the top of each of the taper candle holders and attach the long 4×4 beam of wood. For exact location of where to put the feet, it is very subjective, just make sure they are wide enough apart so the beam is stable.
6. Place a small amount of glue on the bottom of each of the 5 candle dishes and glue them to the piece of wood. Let this dry overnight.

7. Once the dishes are securely attached you are ready to use.
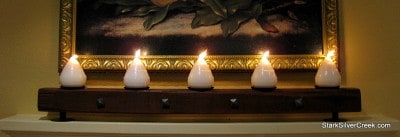
You can place any candles in this candle holder. However, I like the round shaped candles as it is a wonderful contrast to the square elements of this candle holder.

This candle holder makes a rustic Tuscan wine country inspired addition to any plain fireplace mantel. The total cost of the materials was under $45 if you don’t count the flight to Tuscany!